Week 3

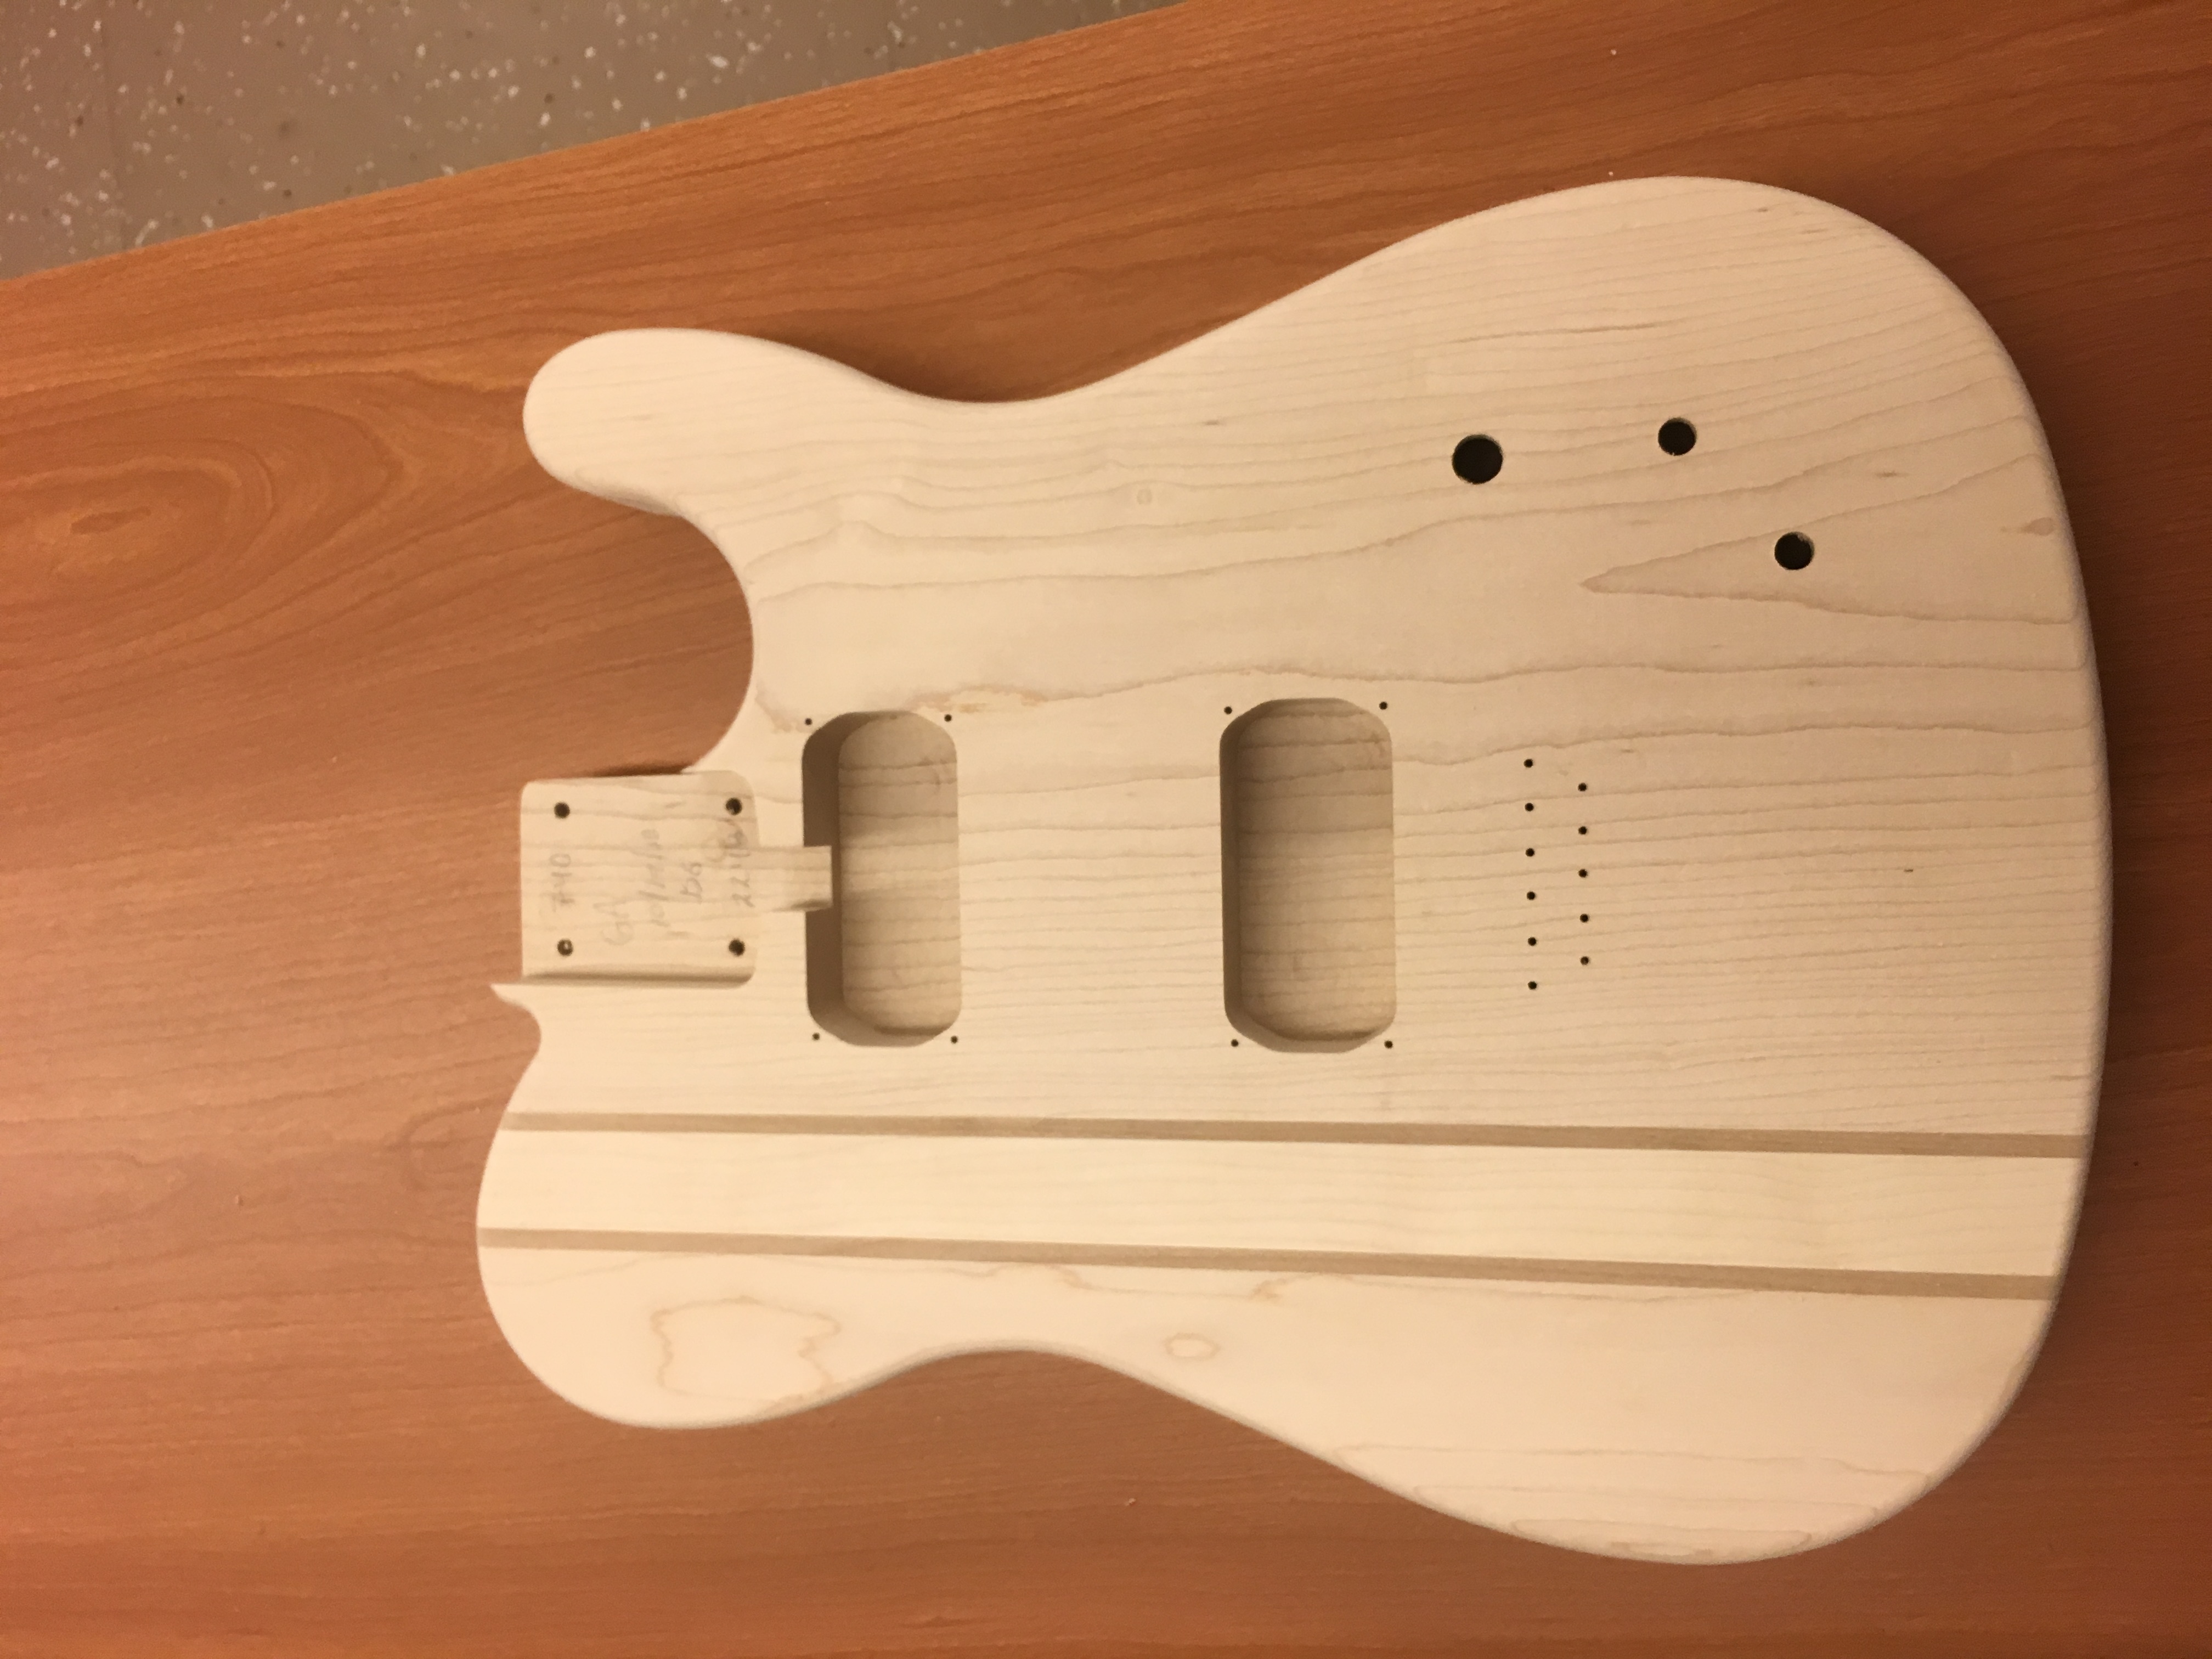
This week I finished the sanding of the guitar body and used the router to get a uniform curve around the edge of the guitar body. I used the table router to get the curve and I also used 220 grit sandpaper to finish the sanding. I learned that the higher the number for the sandpaper, the smoother it is.

Week 2

This week I was able to finish sanding my guitar body and also sanding my fretboard. While sanding my fretboard I used a 12 inch radius block sander, which is used to give the fretboard a curve. The sander is curved as if it was a little chunk taken out of a big circle with a radius of 12 inches to make the curve precise. I learned that the gaps under the frets can be filled with the rosewood sawdust to make it look like there is no gap at all.

Week 1

This week we started the guitar build and went through all the parts of the guitar. We started by picking our headstocks and fingerboards, and then went on to shape our headstocks and body of our guitars. I used the spindle sander for the first time to shape the inside curves of the head and body. The spindle sander is a sander that spins very fast in place so that you can move the pieces of wood around it to shape it how you want. I also learned how to cut turns in the bandsaw.