This week I painted the body of the guitar in all black. I did this by using a flat black spray paint and did many coats of paint to make it looking good. I learned that to do a sunburst type of look, the spray needs to be higher up off of the body.
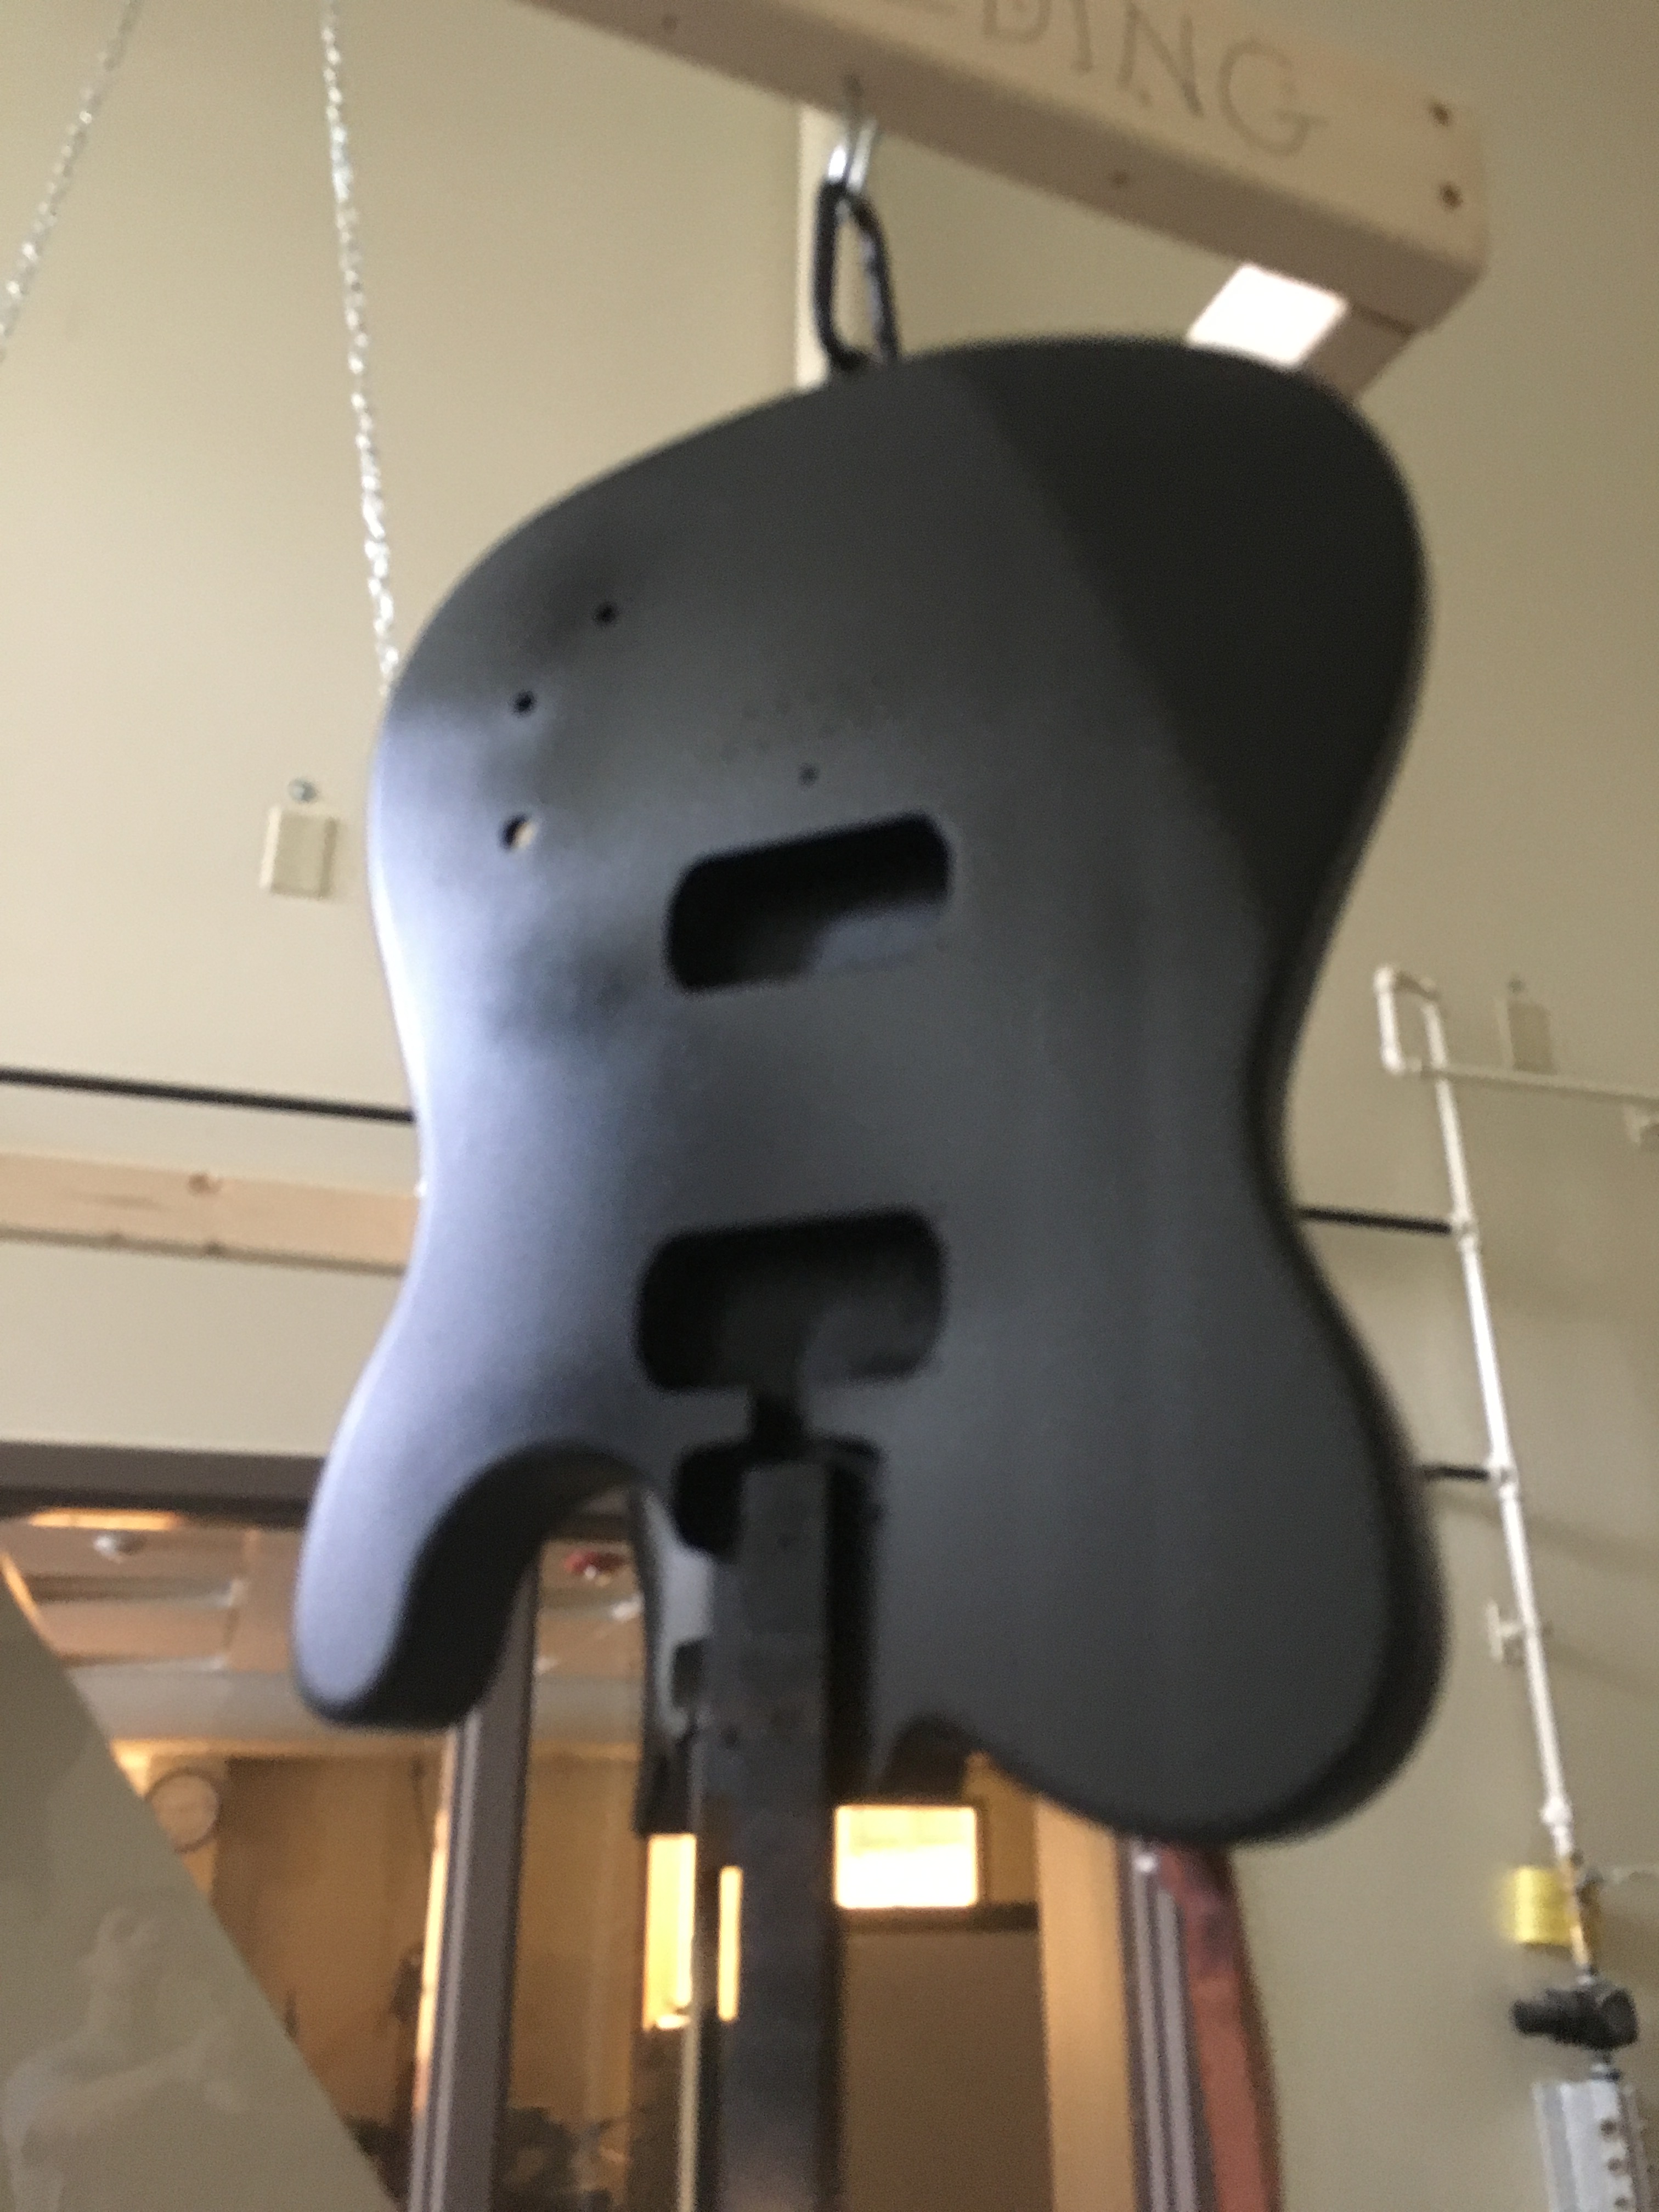
This week I painted the body of the guitar in all black. I did this by using a flat black spray paint and did many coats of paint to make it looking good. I learned that to do a sunburst type of look, the spray needs to be higher up off of the body.
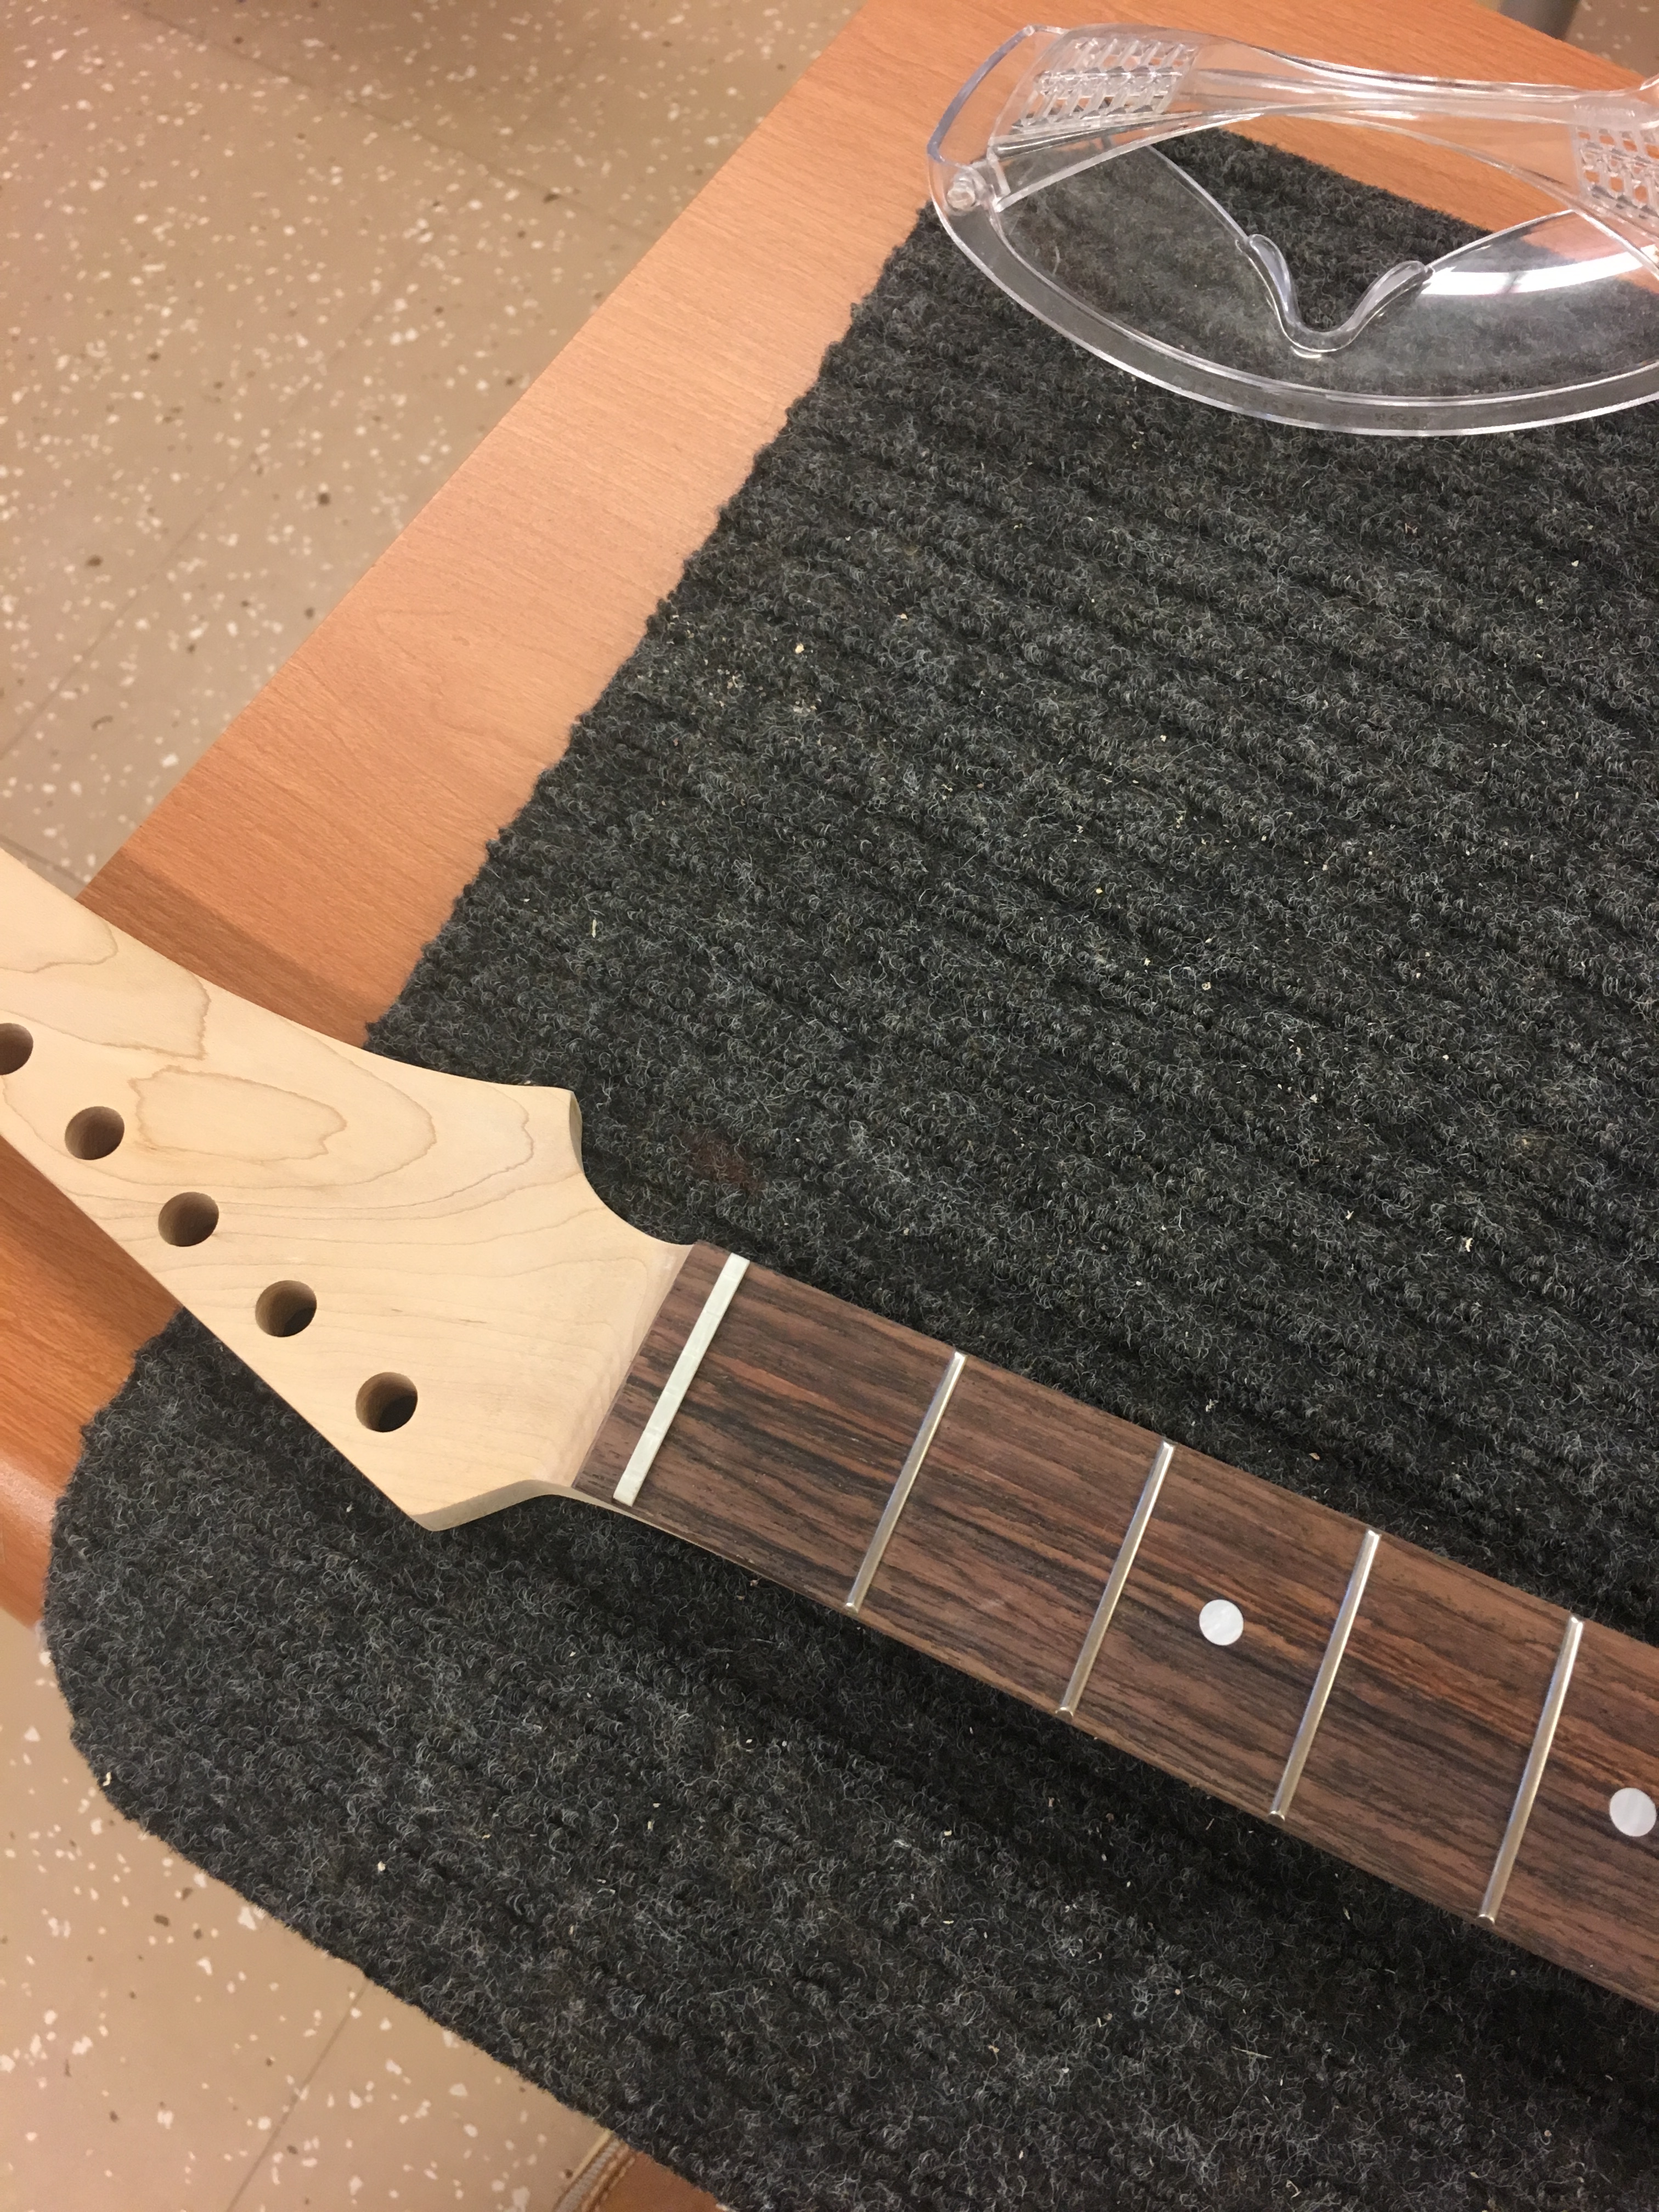
This week I finished soldering the wires for the tone, volume, and switch knobs and also made the holes in the head larger. To do this I used a soldering iron for the wires and a drill press for the tuners. I learned that the standard size for tuners is 10mm.

This week I started with the electronics of the guitar and we started to solder the wires to the tone volume and switch. To do this I used a soldering iron along with an insulated 24 gauge wire. I learned that by using a coil of wire and a magnet and putting it on somethin to vibrate, you can play anything with it.

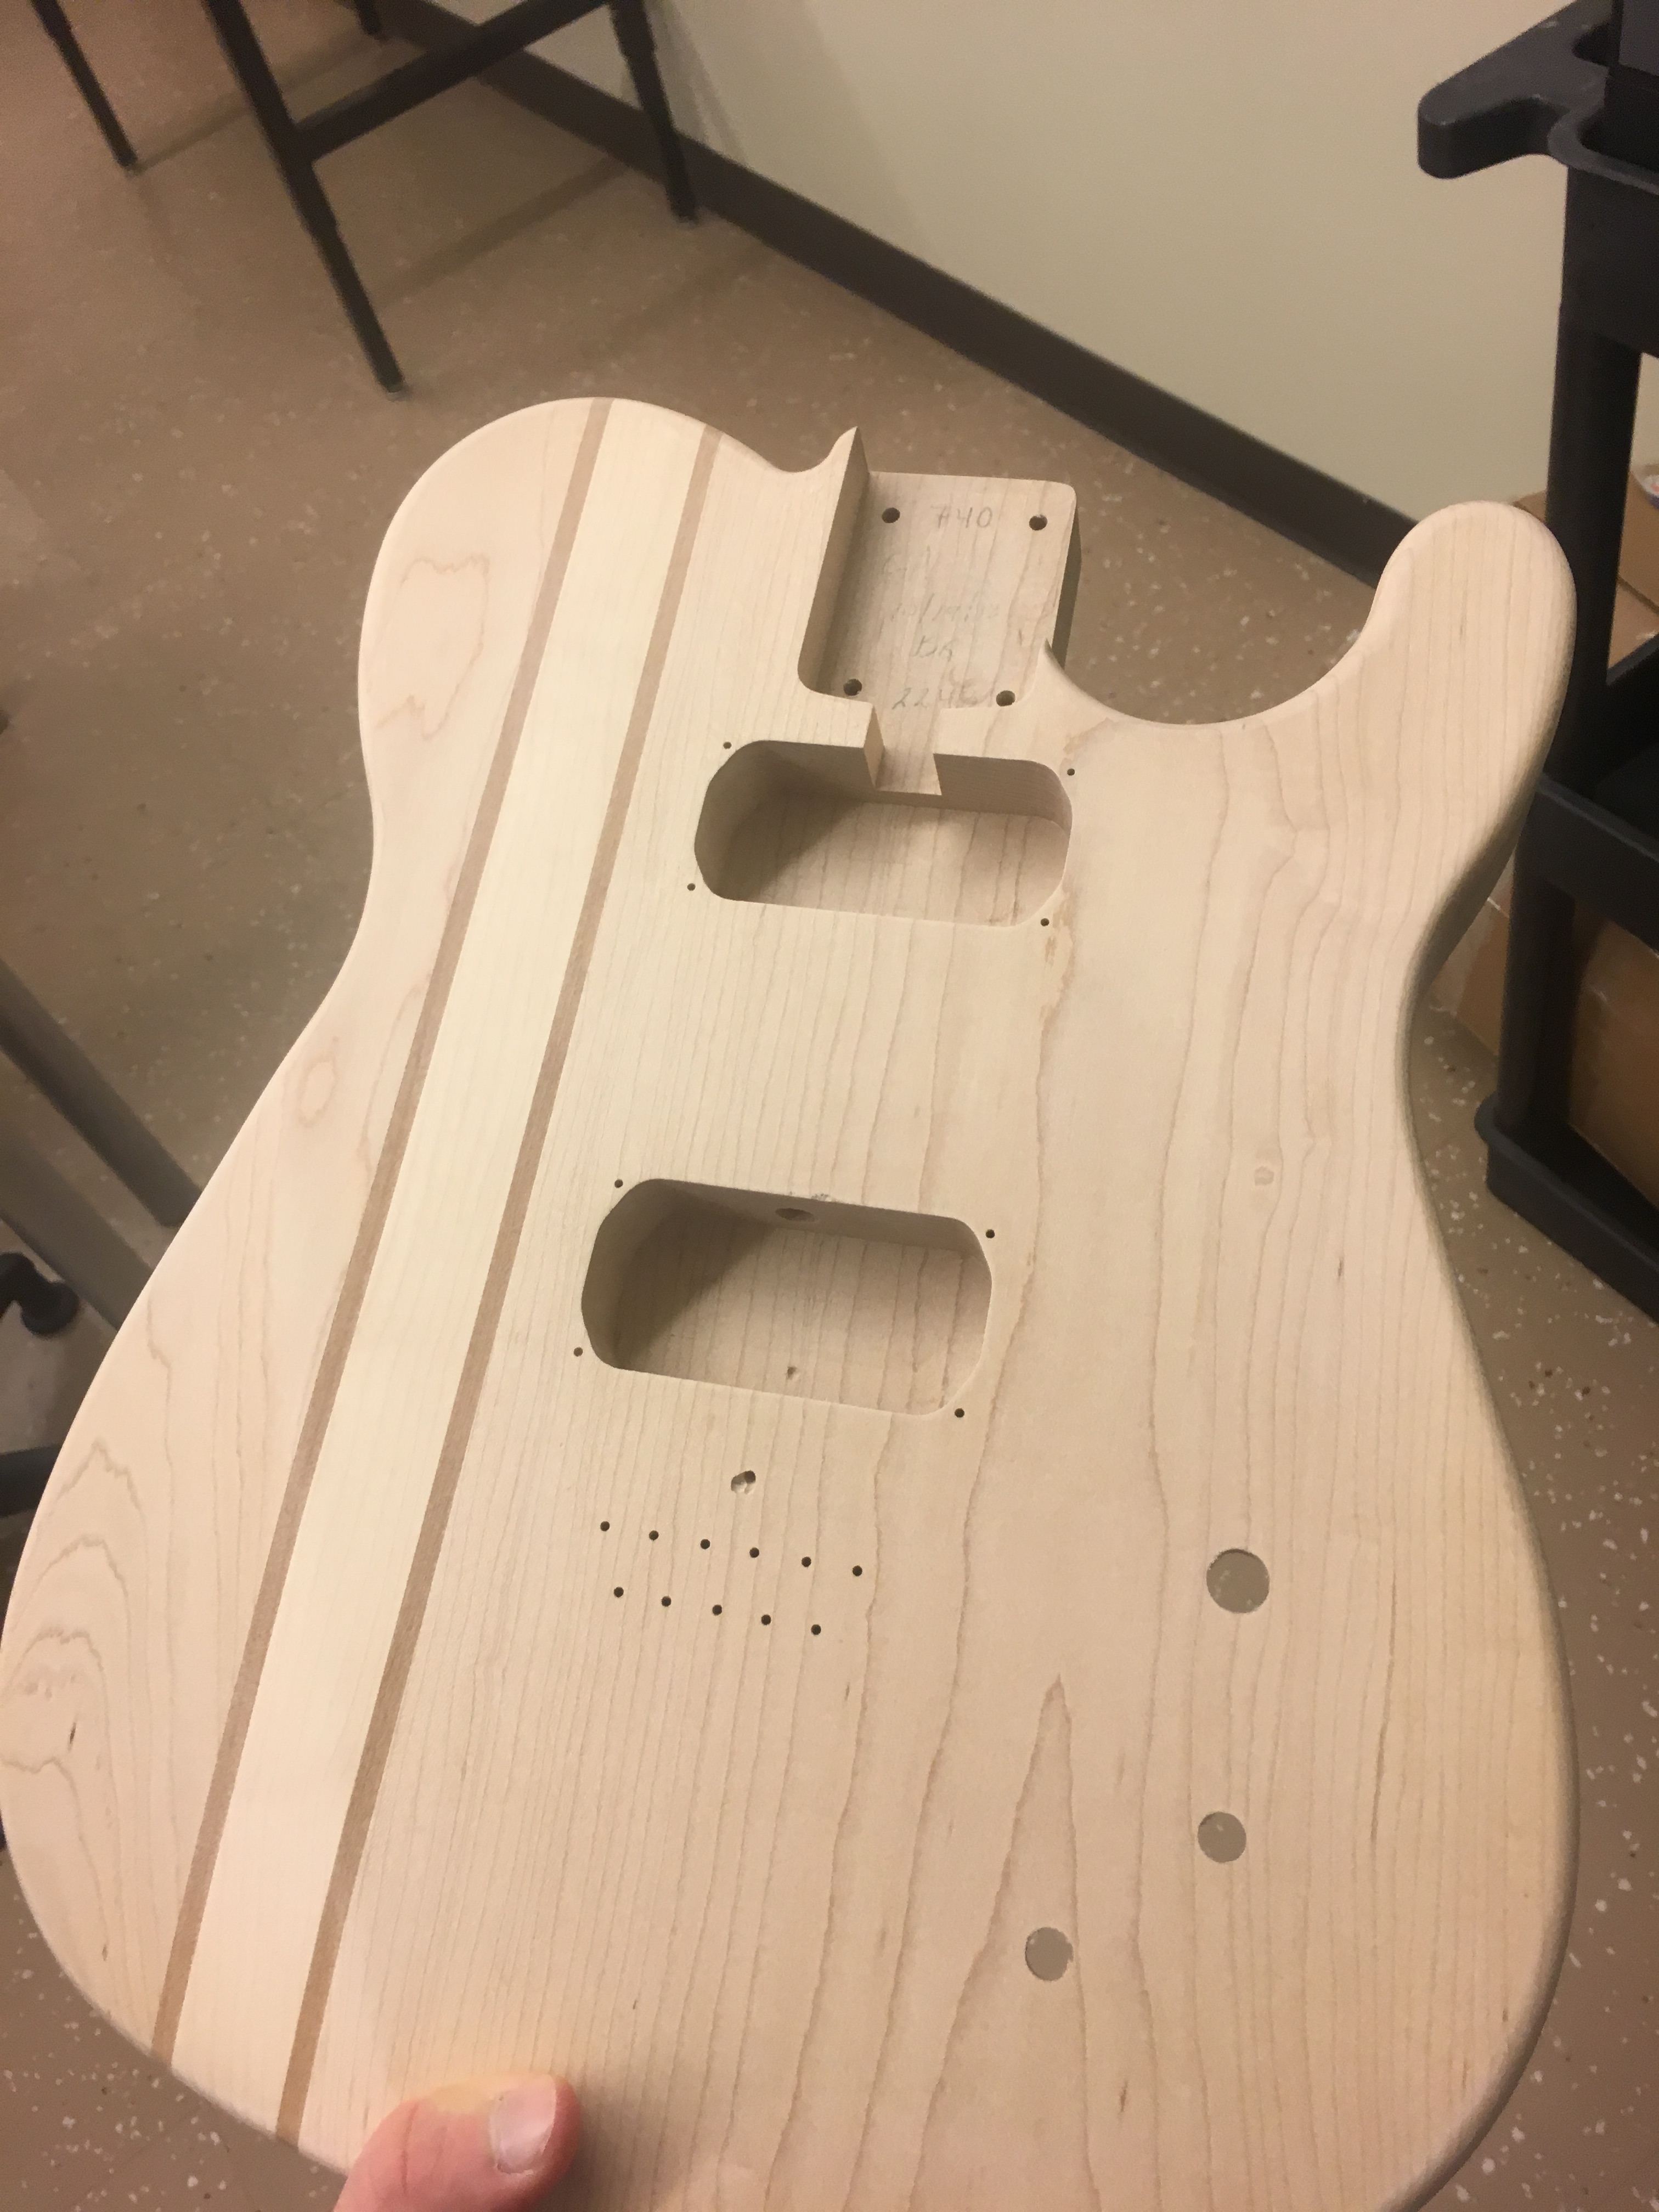
This week I sealed the guitar to prepare to paint it and sanded it down as well. To do this, I used sanding sealer and waited for it to dry, put more on, and then sanded it down with 320 grit sandpaper. I learned that the sanding sealer is used for paint because it makes it so the paint doesn’t deep into the guitar but rather goes on top of the sealer, whereas staining a guitar you want the stain to seep into the guitar.
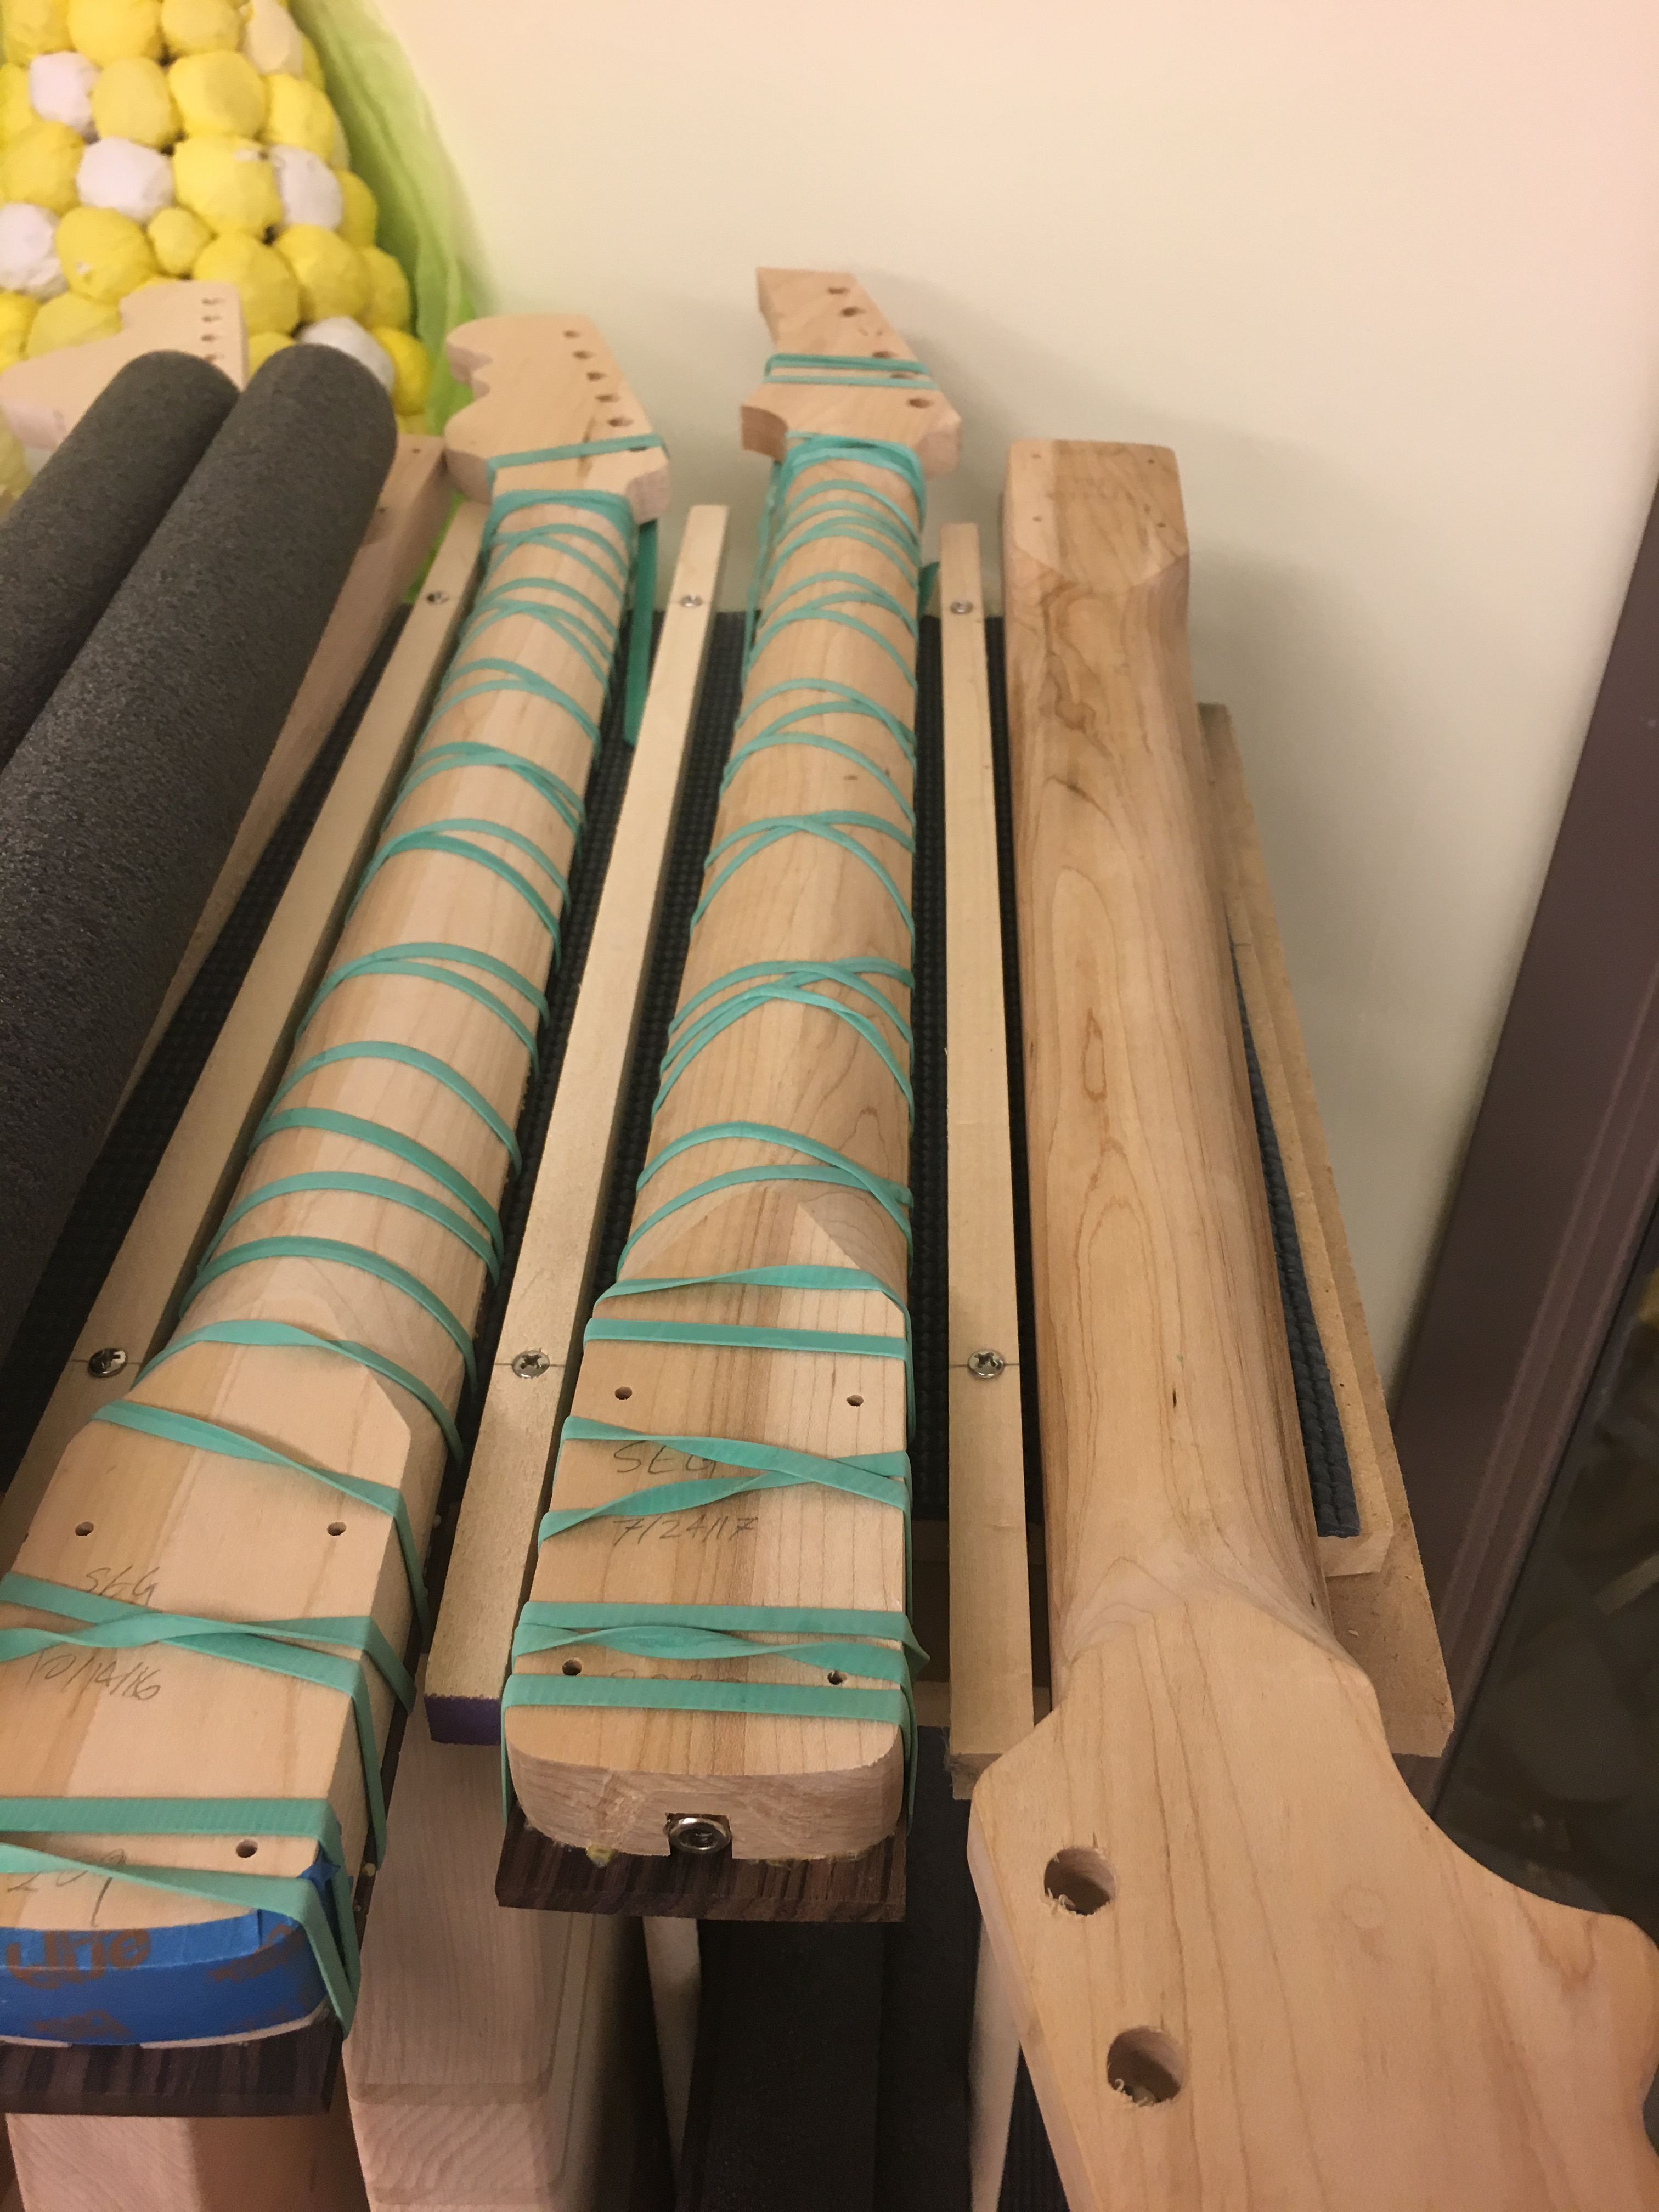
This week I filed the body of the guitar and sanded it down smooth. I used a few files to shape the body and then used the random orbital sander to finish off the body. I learned that when you file a groove in the nut groove, it could leave a little notch at the bottom so the nut doesn’t fit quite right.
This week I finished shaping my frets and beveled the frets. I did this by using two different files and 1000 grit sandpaper and a diamond fret sander to shape and finish the frets. I learned that even if your frets look awful, they can still come back to life with the help of Mr McCormack.
This week I put all of the frets into my fretboard after sanding down the side dot inlays. To do this I used a sanding block for the side dot inlays and then bent the fret wire using the wire bender. I then cut the frets to size and pressed them into the fretboard using the push press. I learned that while cutting the fret wire, the clippers can’t be horizontal or they will bend the fret wire the wrong way.
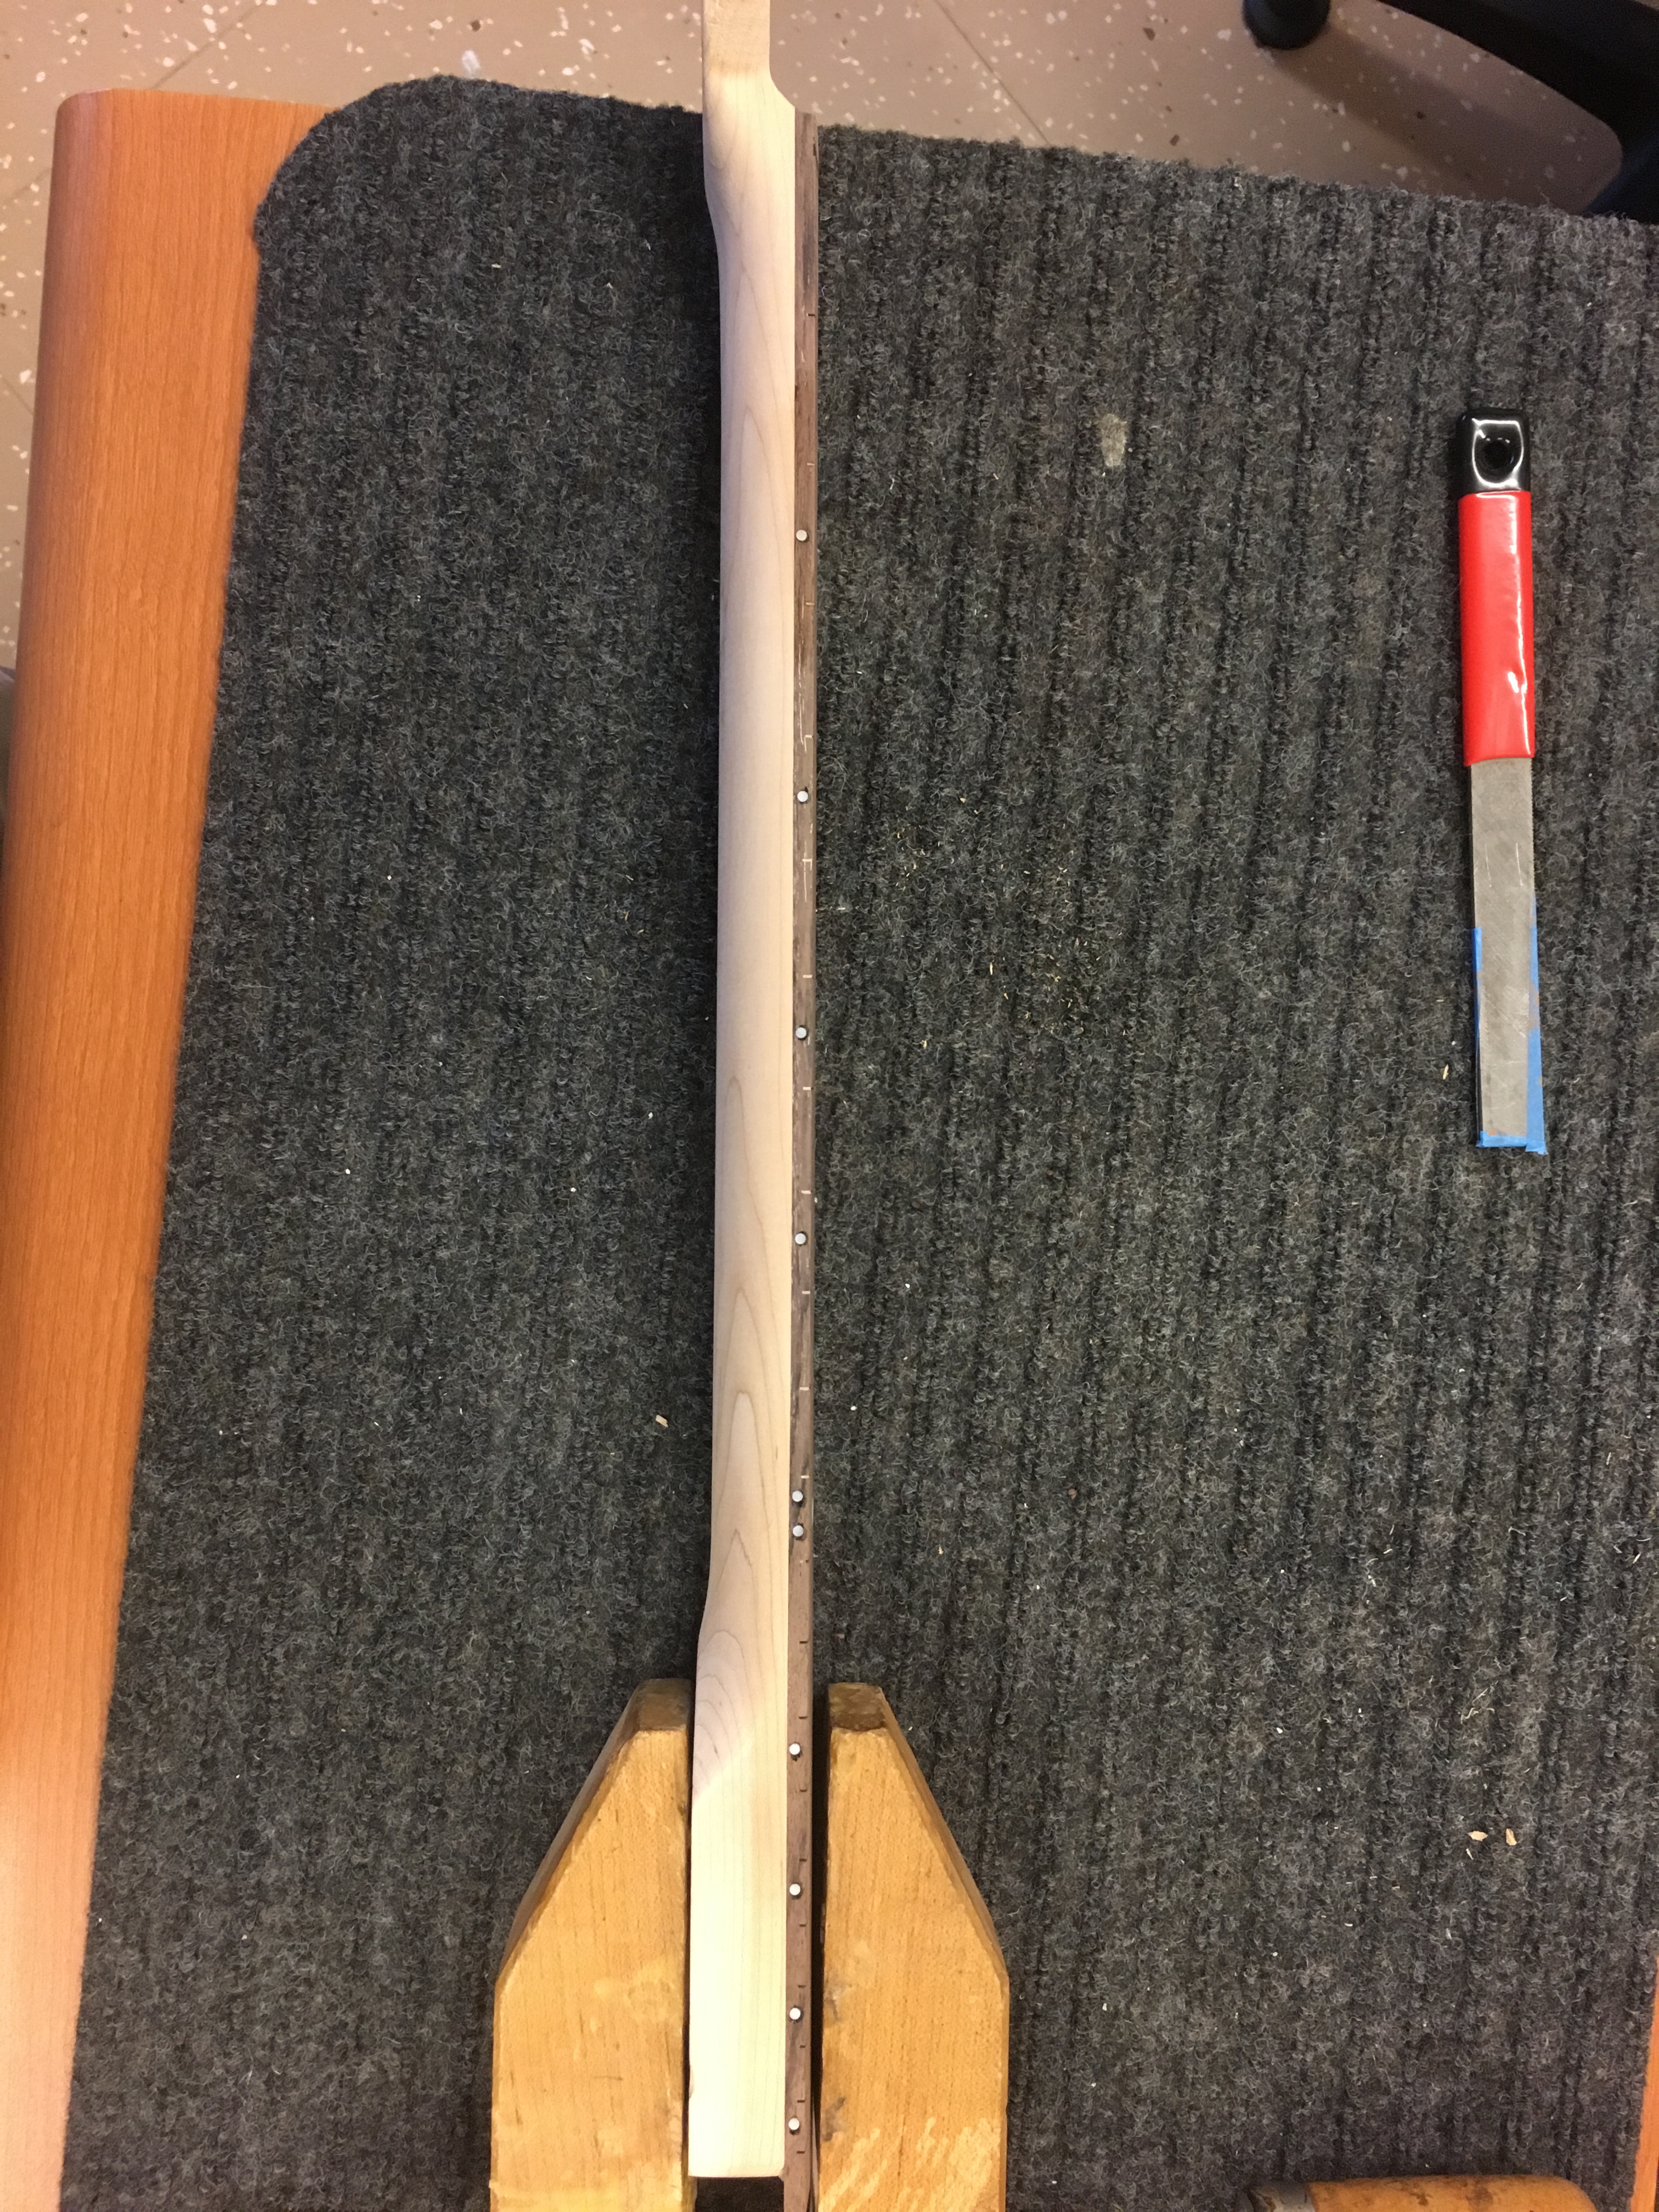
This week I put all of the side dot inlays into the fretboard. I did this by using a drill with a drill bit the exact size of the dot inlay to drill the holes and then put super glue in the hole and placed the dot inlays in. I learned that while using plastic inlays, they are placed in the hole and cut to the length, they aren’t pre cut.
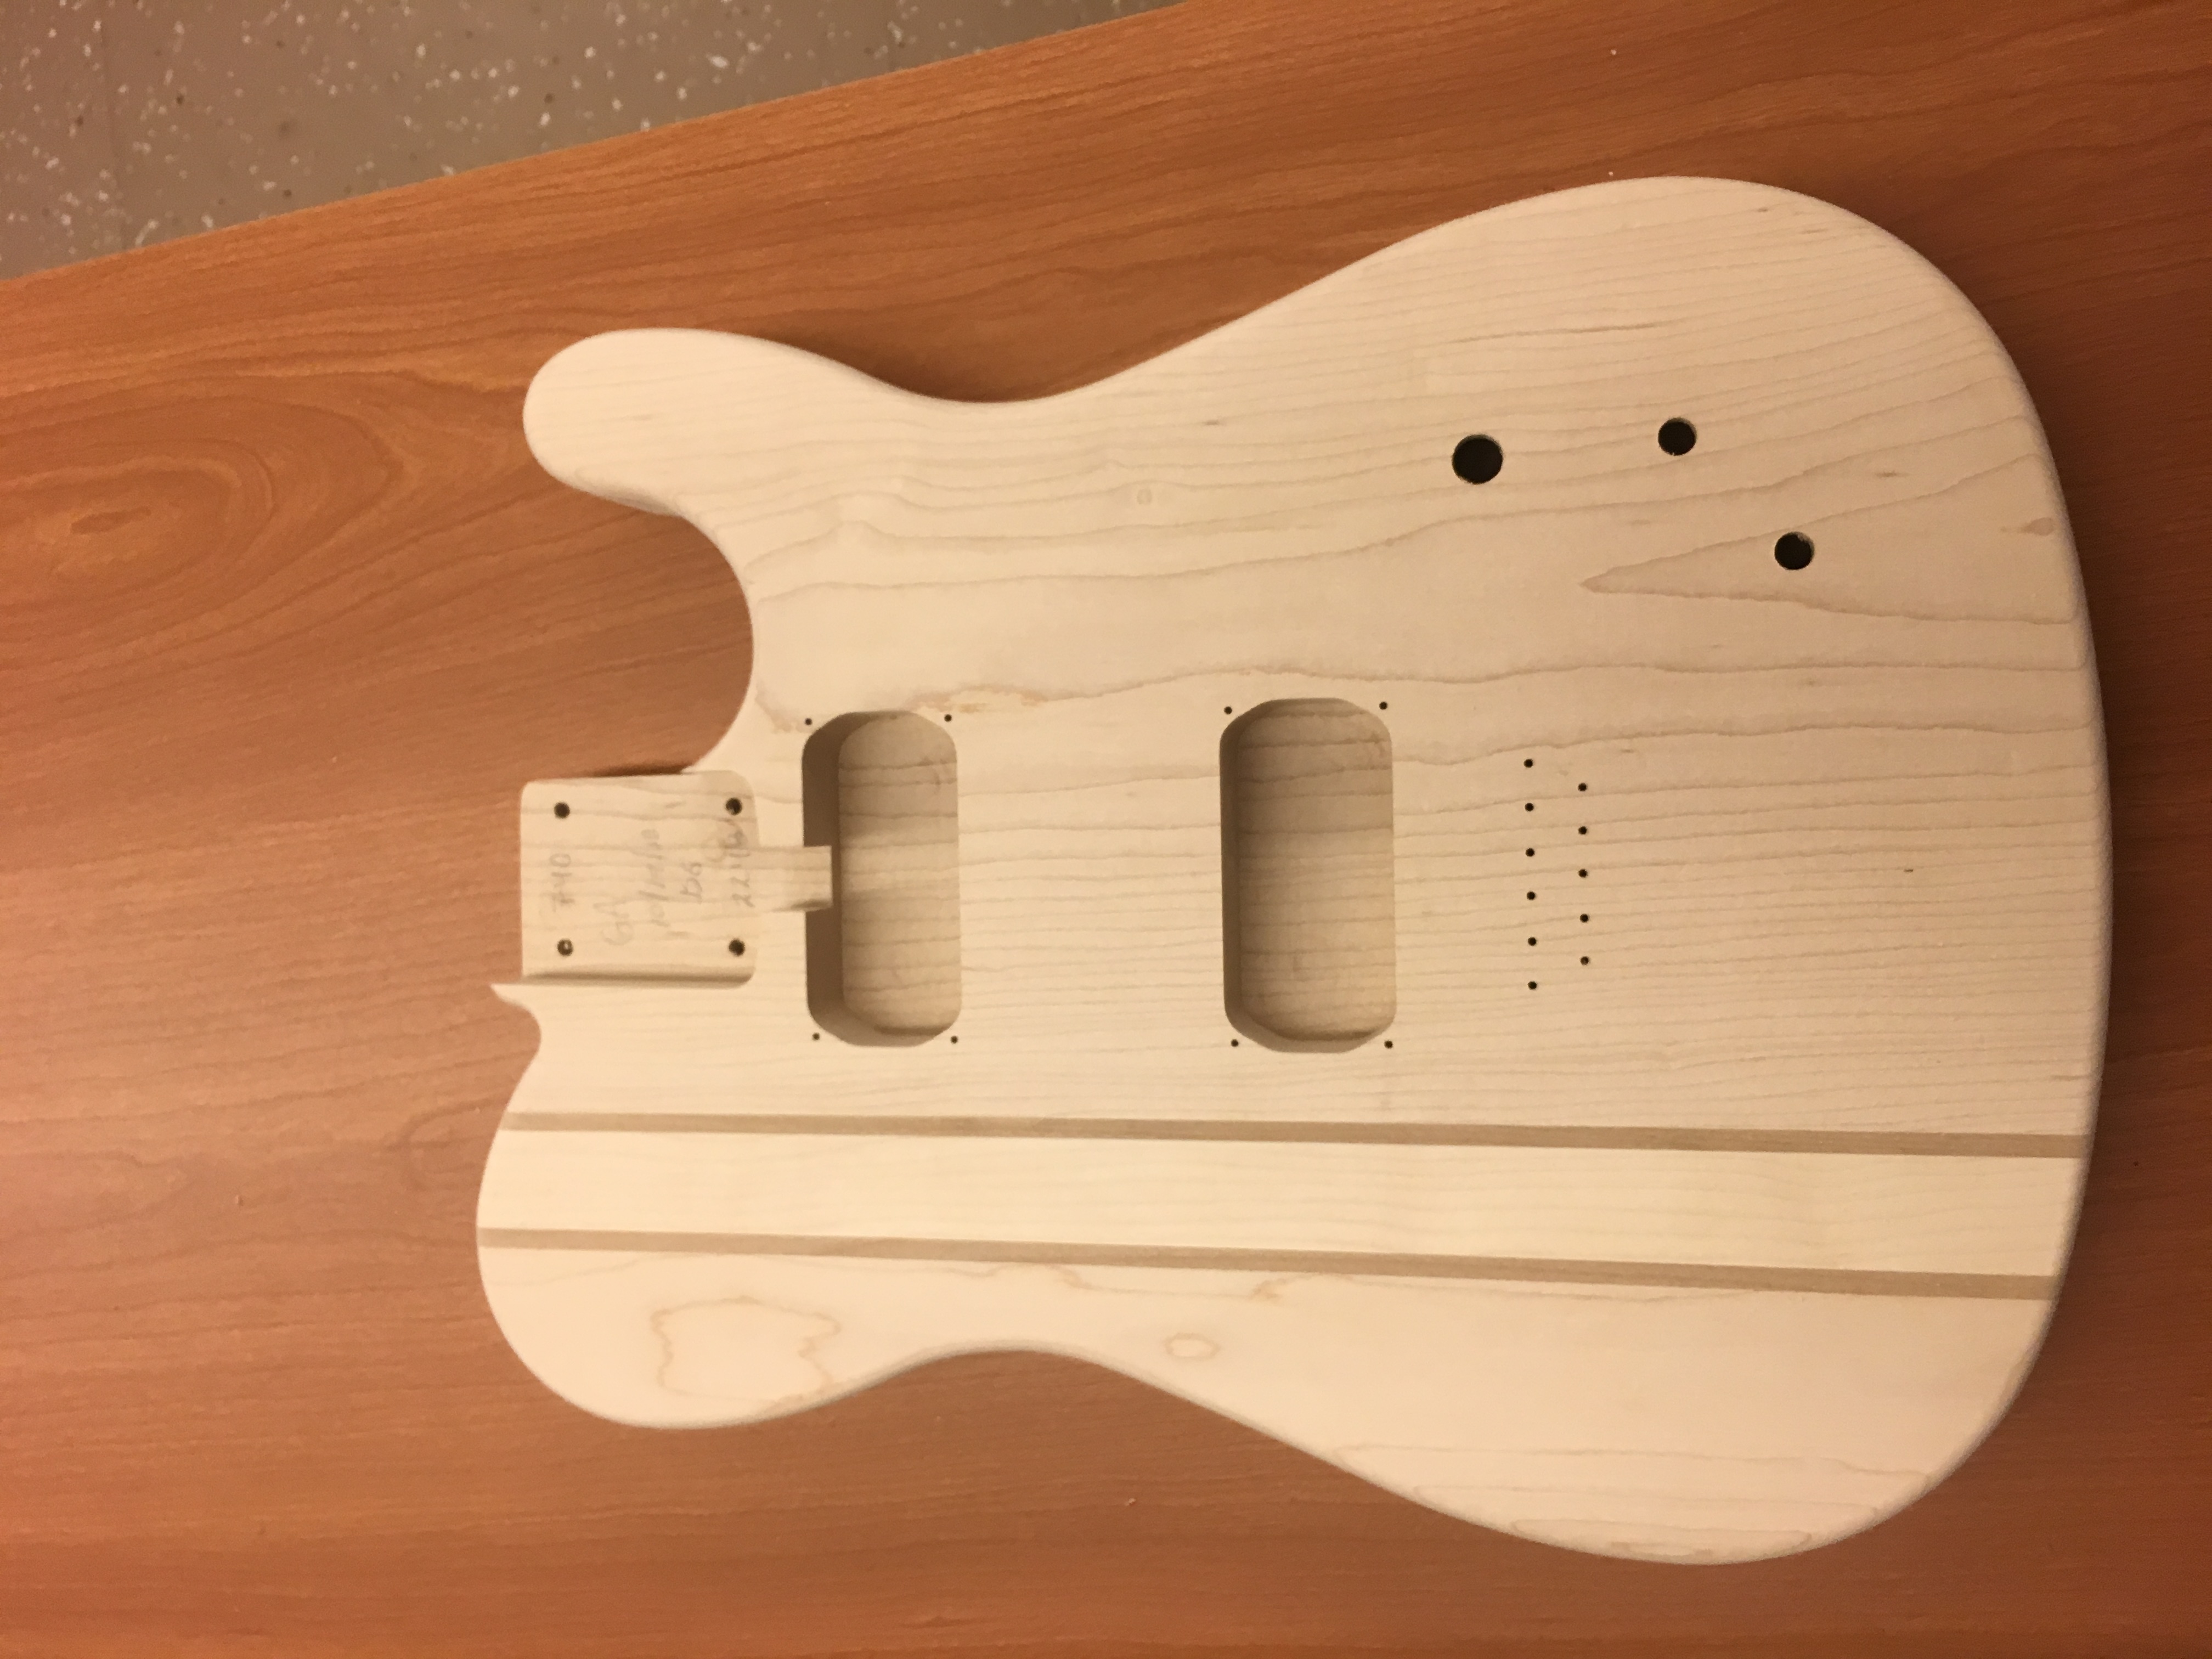
This week I drilled holes in the guitar body for wires to go through. I used a power drill with specific widths to drill the holes. I learned that to drill a hole, it is easier to make a small groove and then drill from there.
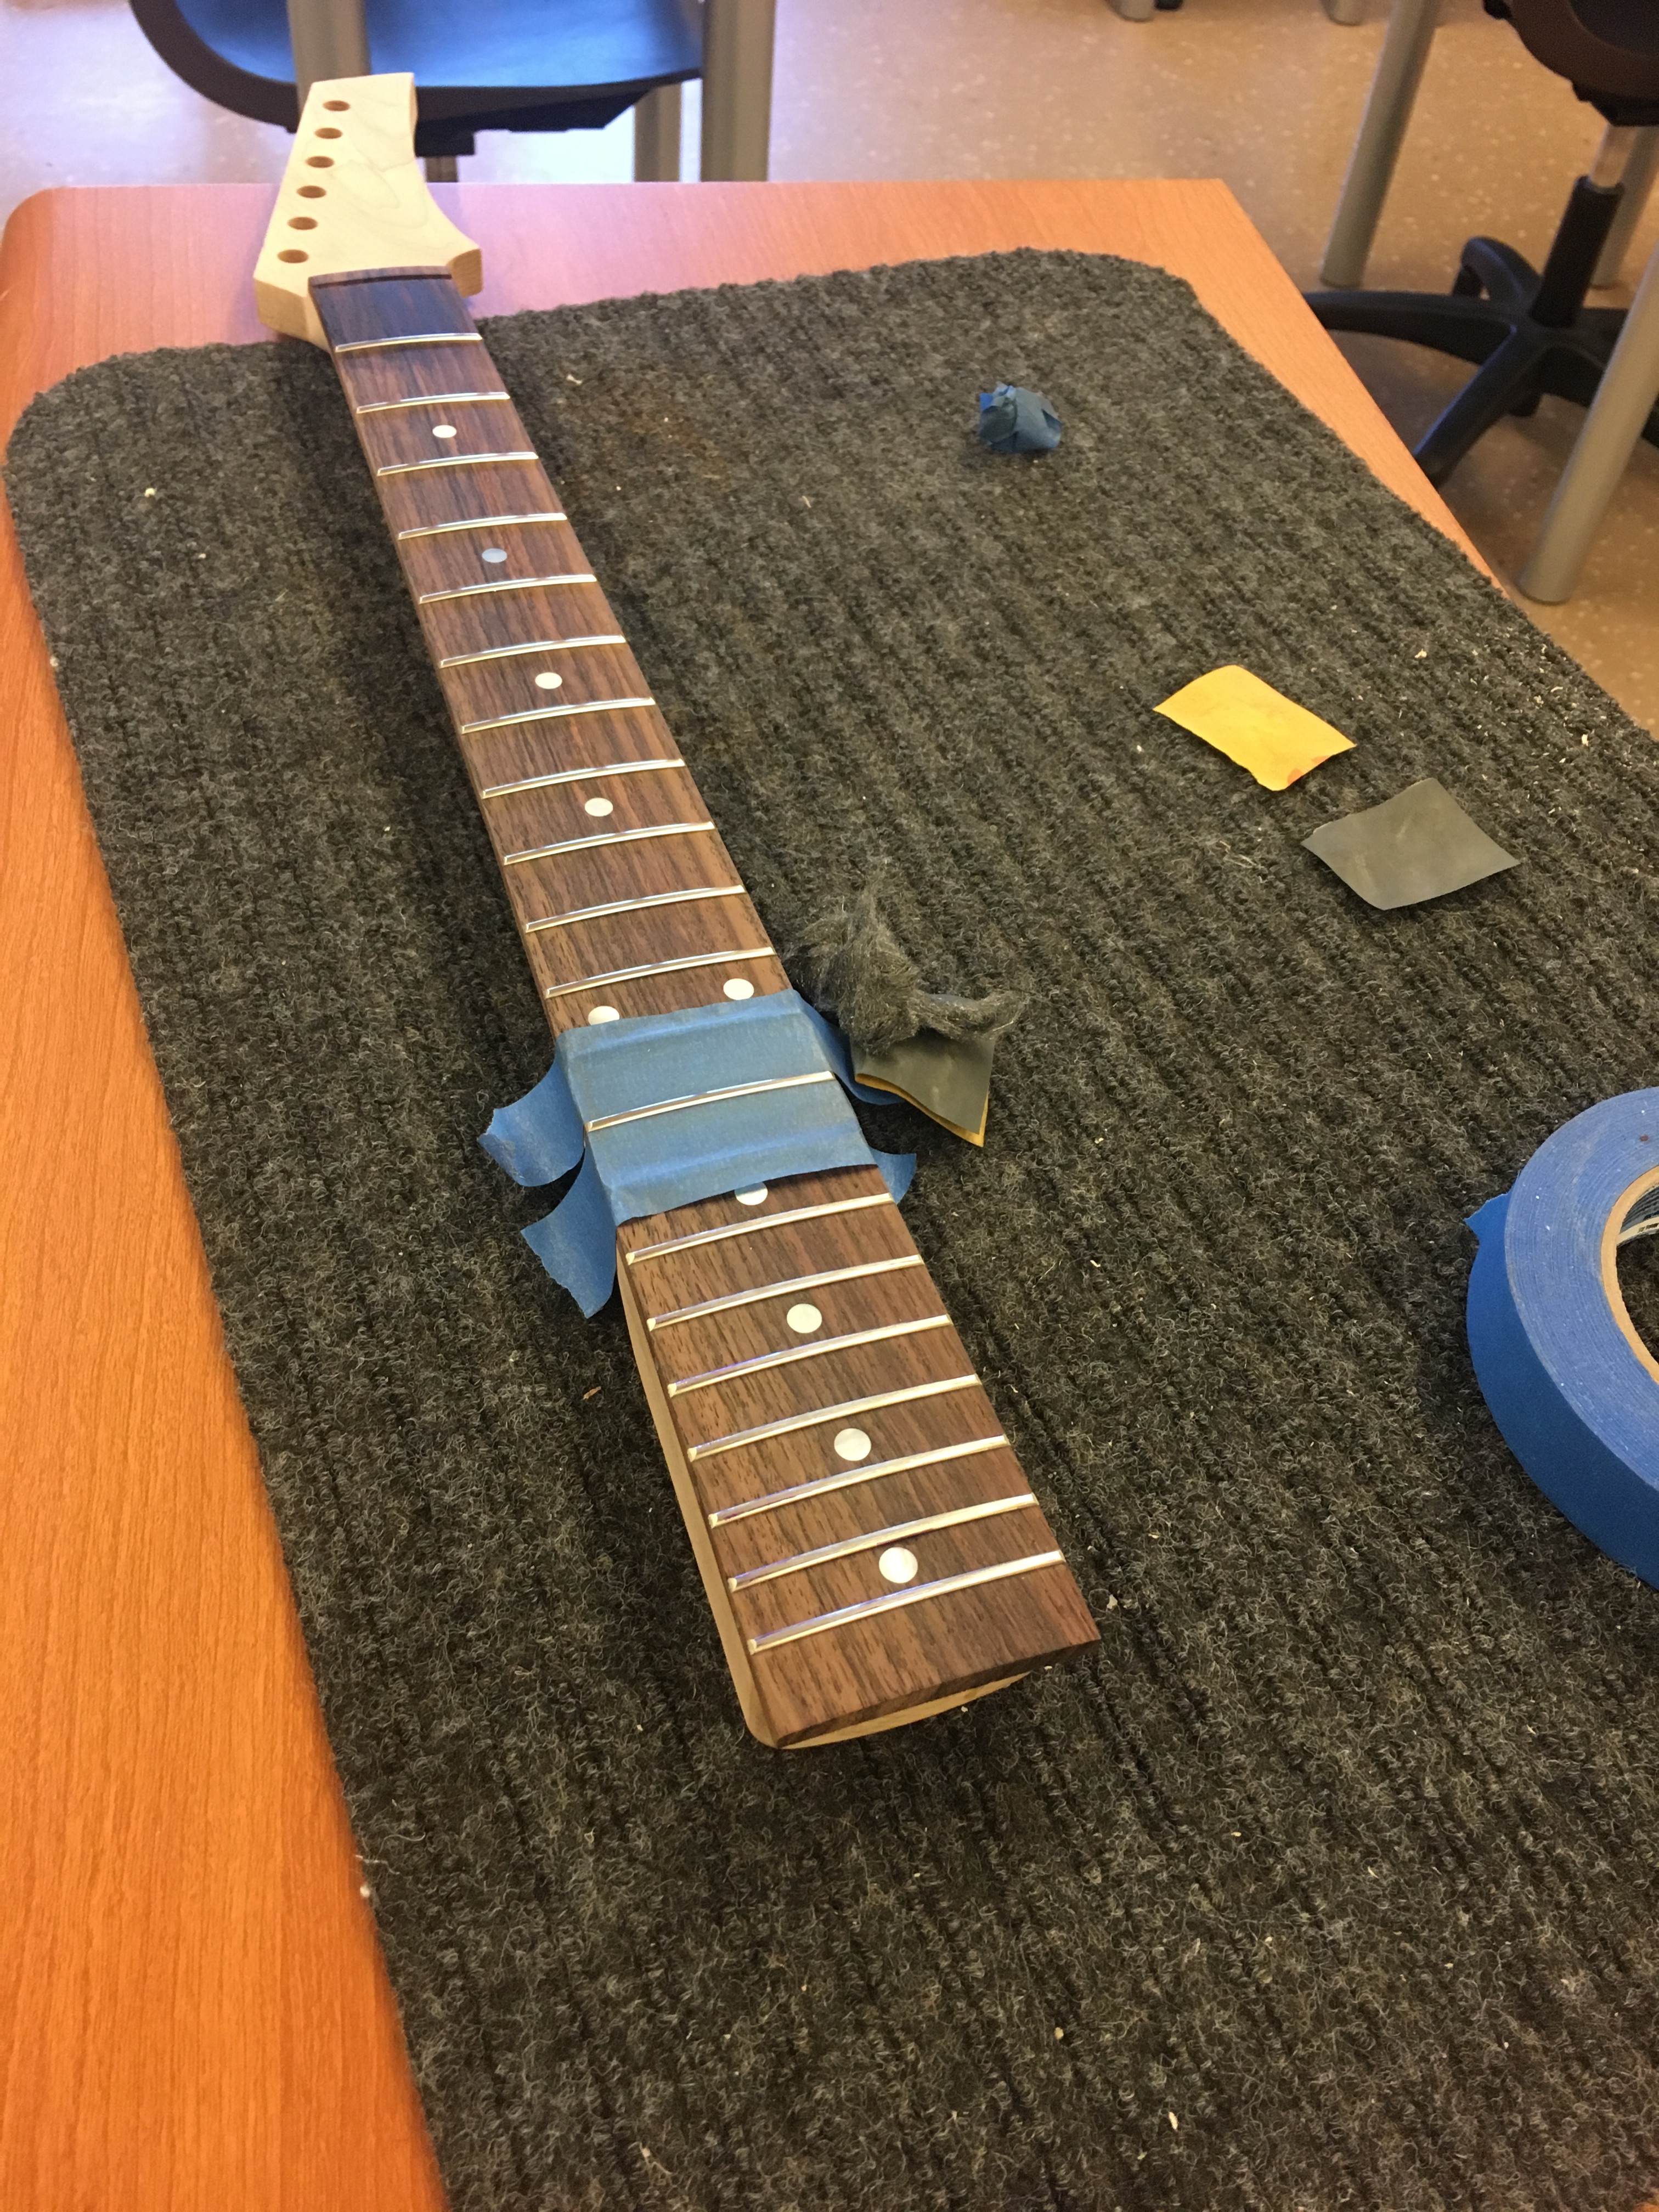
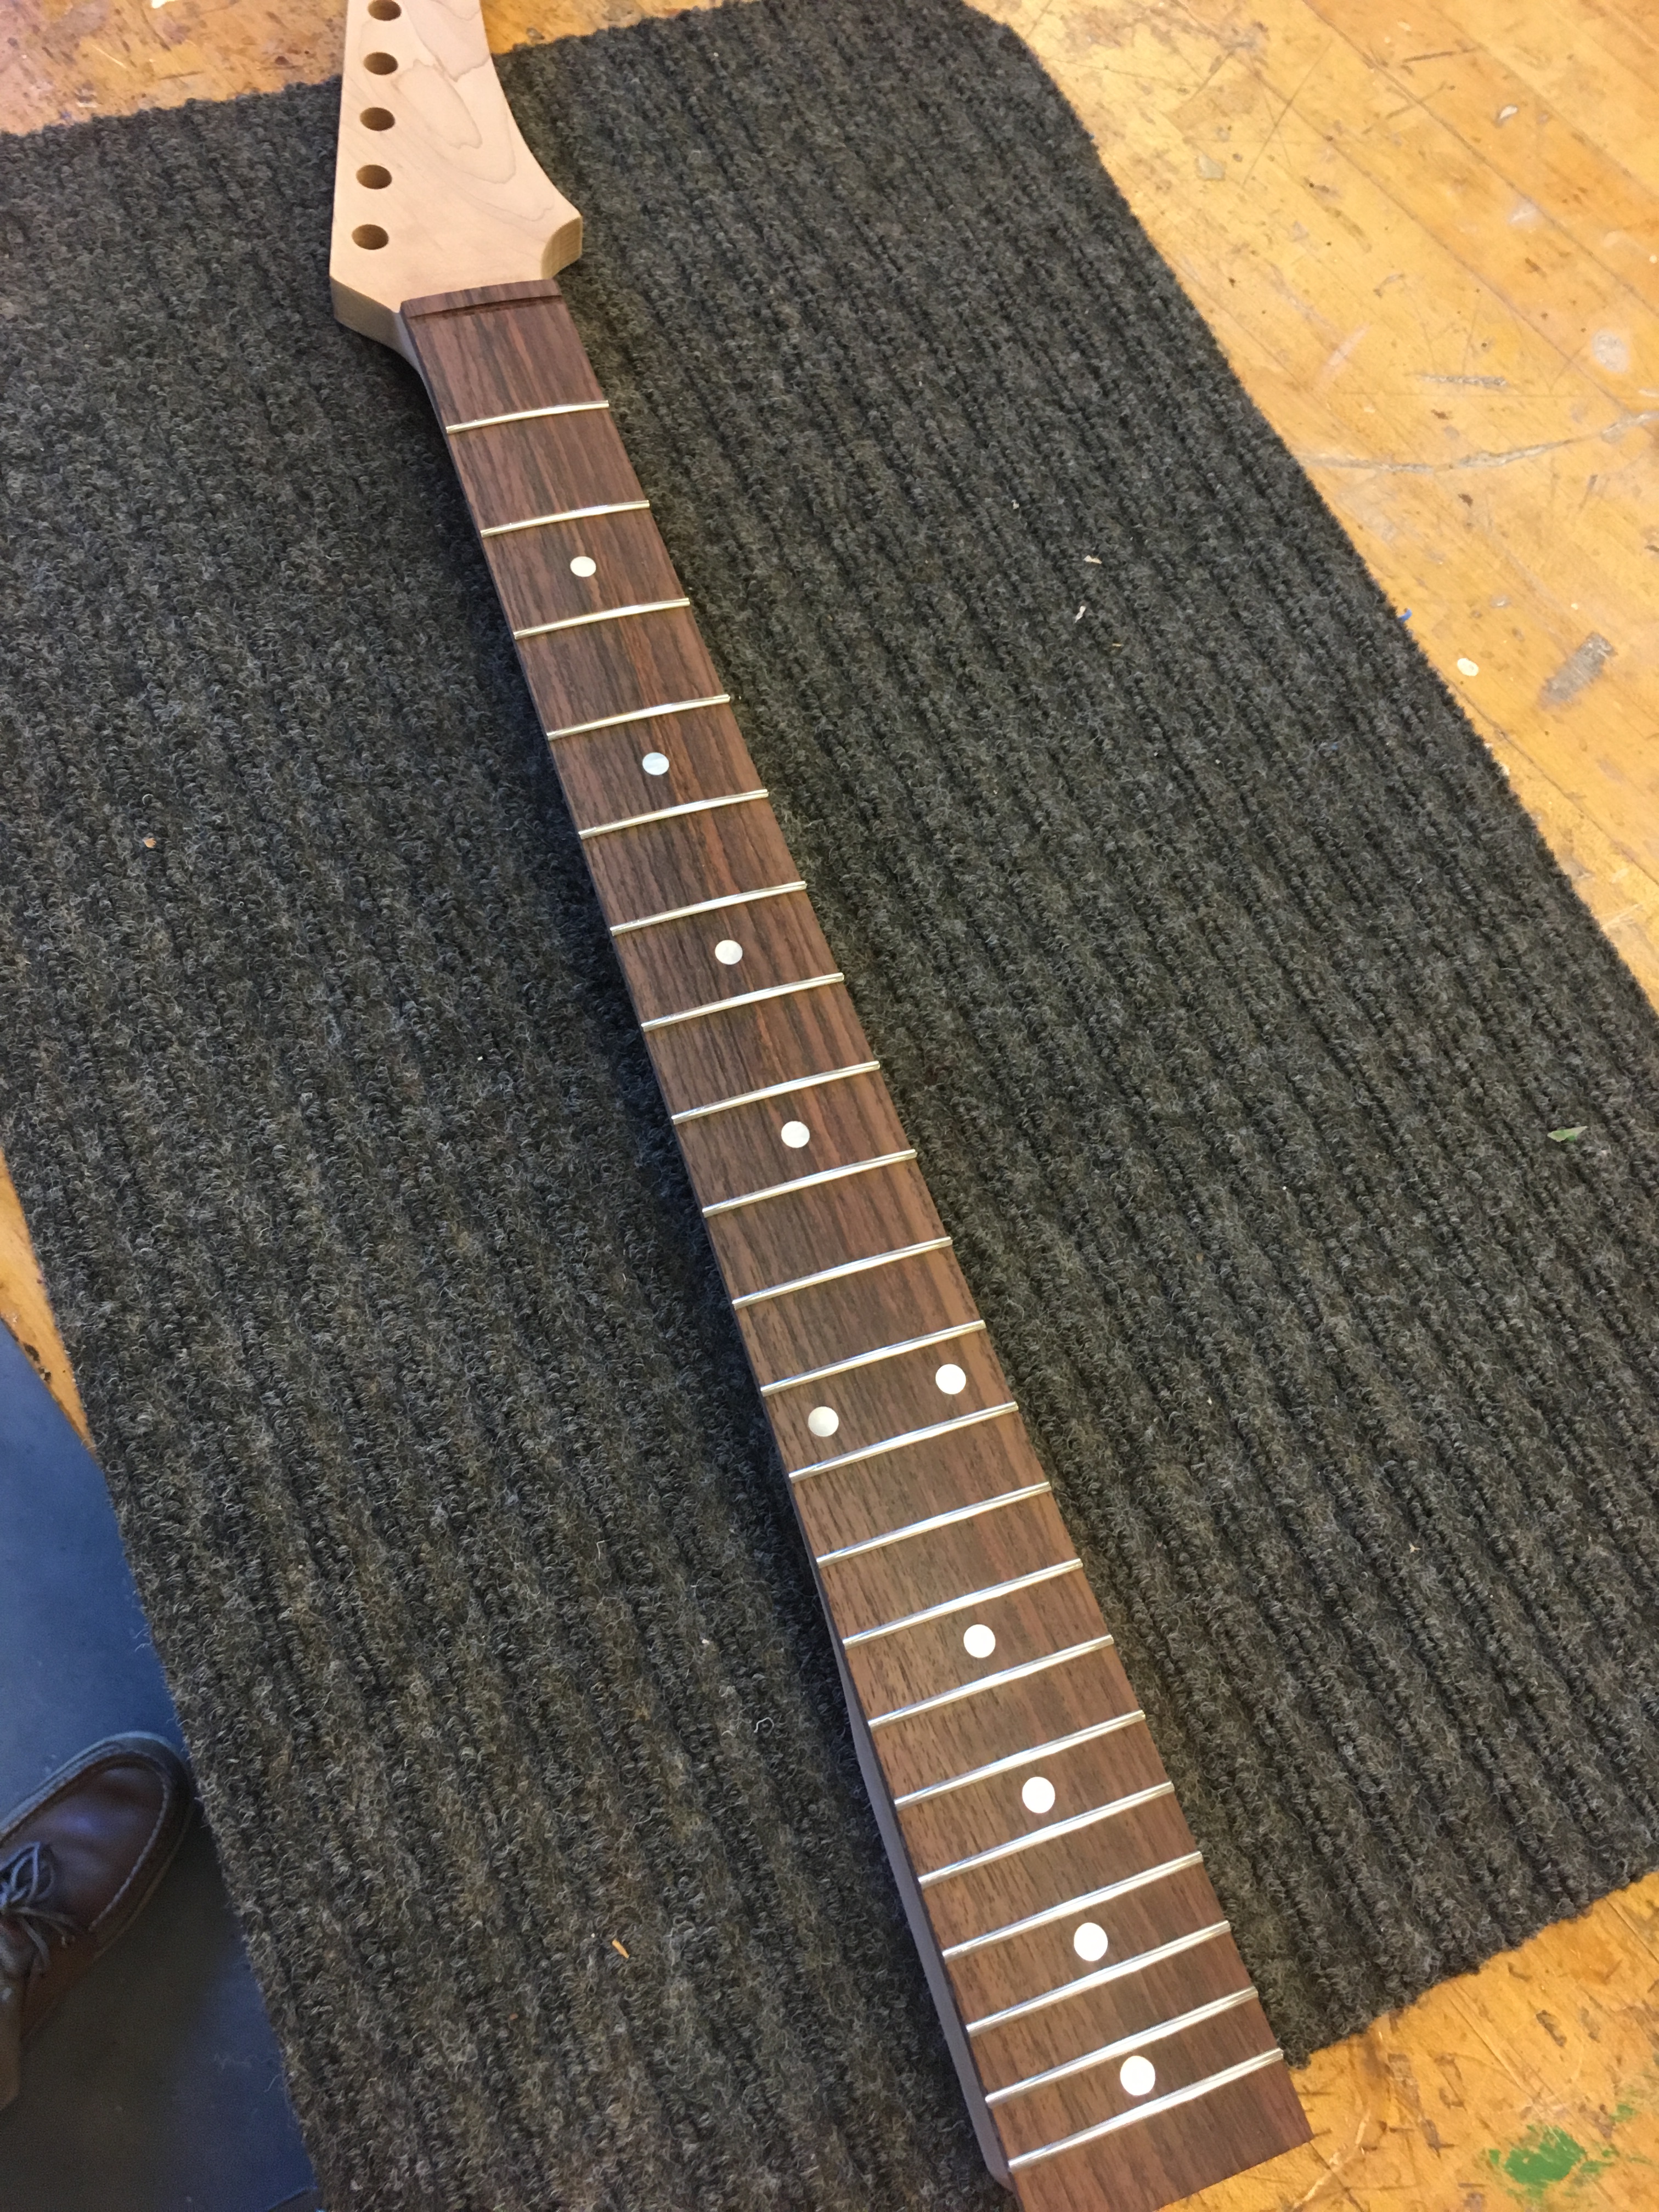
This week I glued the fret board to the neck and put in the dot inlays. I used a drill with a drill bit the same size as the inlay to put the dot inlays in the fret board, and then used wood glue to put the fret board on the neck. I learned that the frets go on the 3, 5, 7, 9, 12, 15, 17, 19, and 21 fret.