Final Week

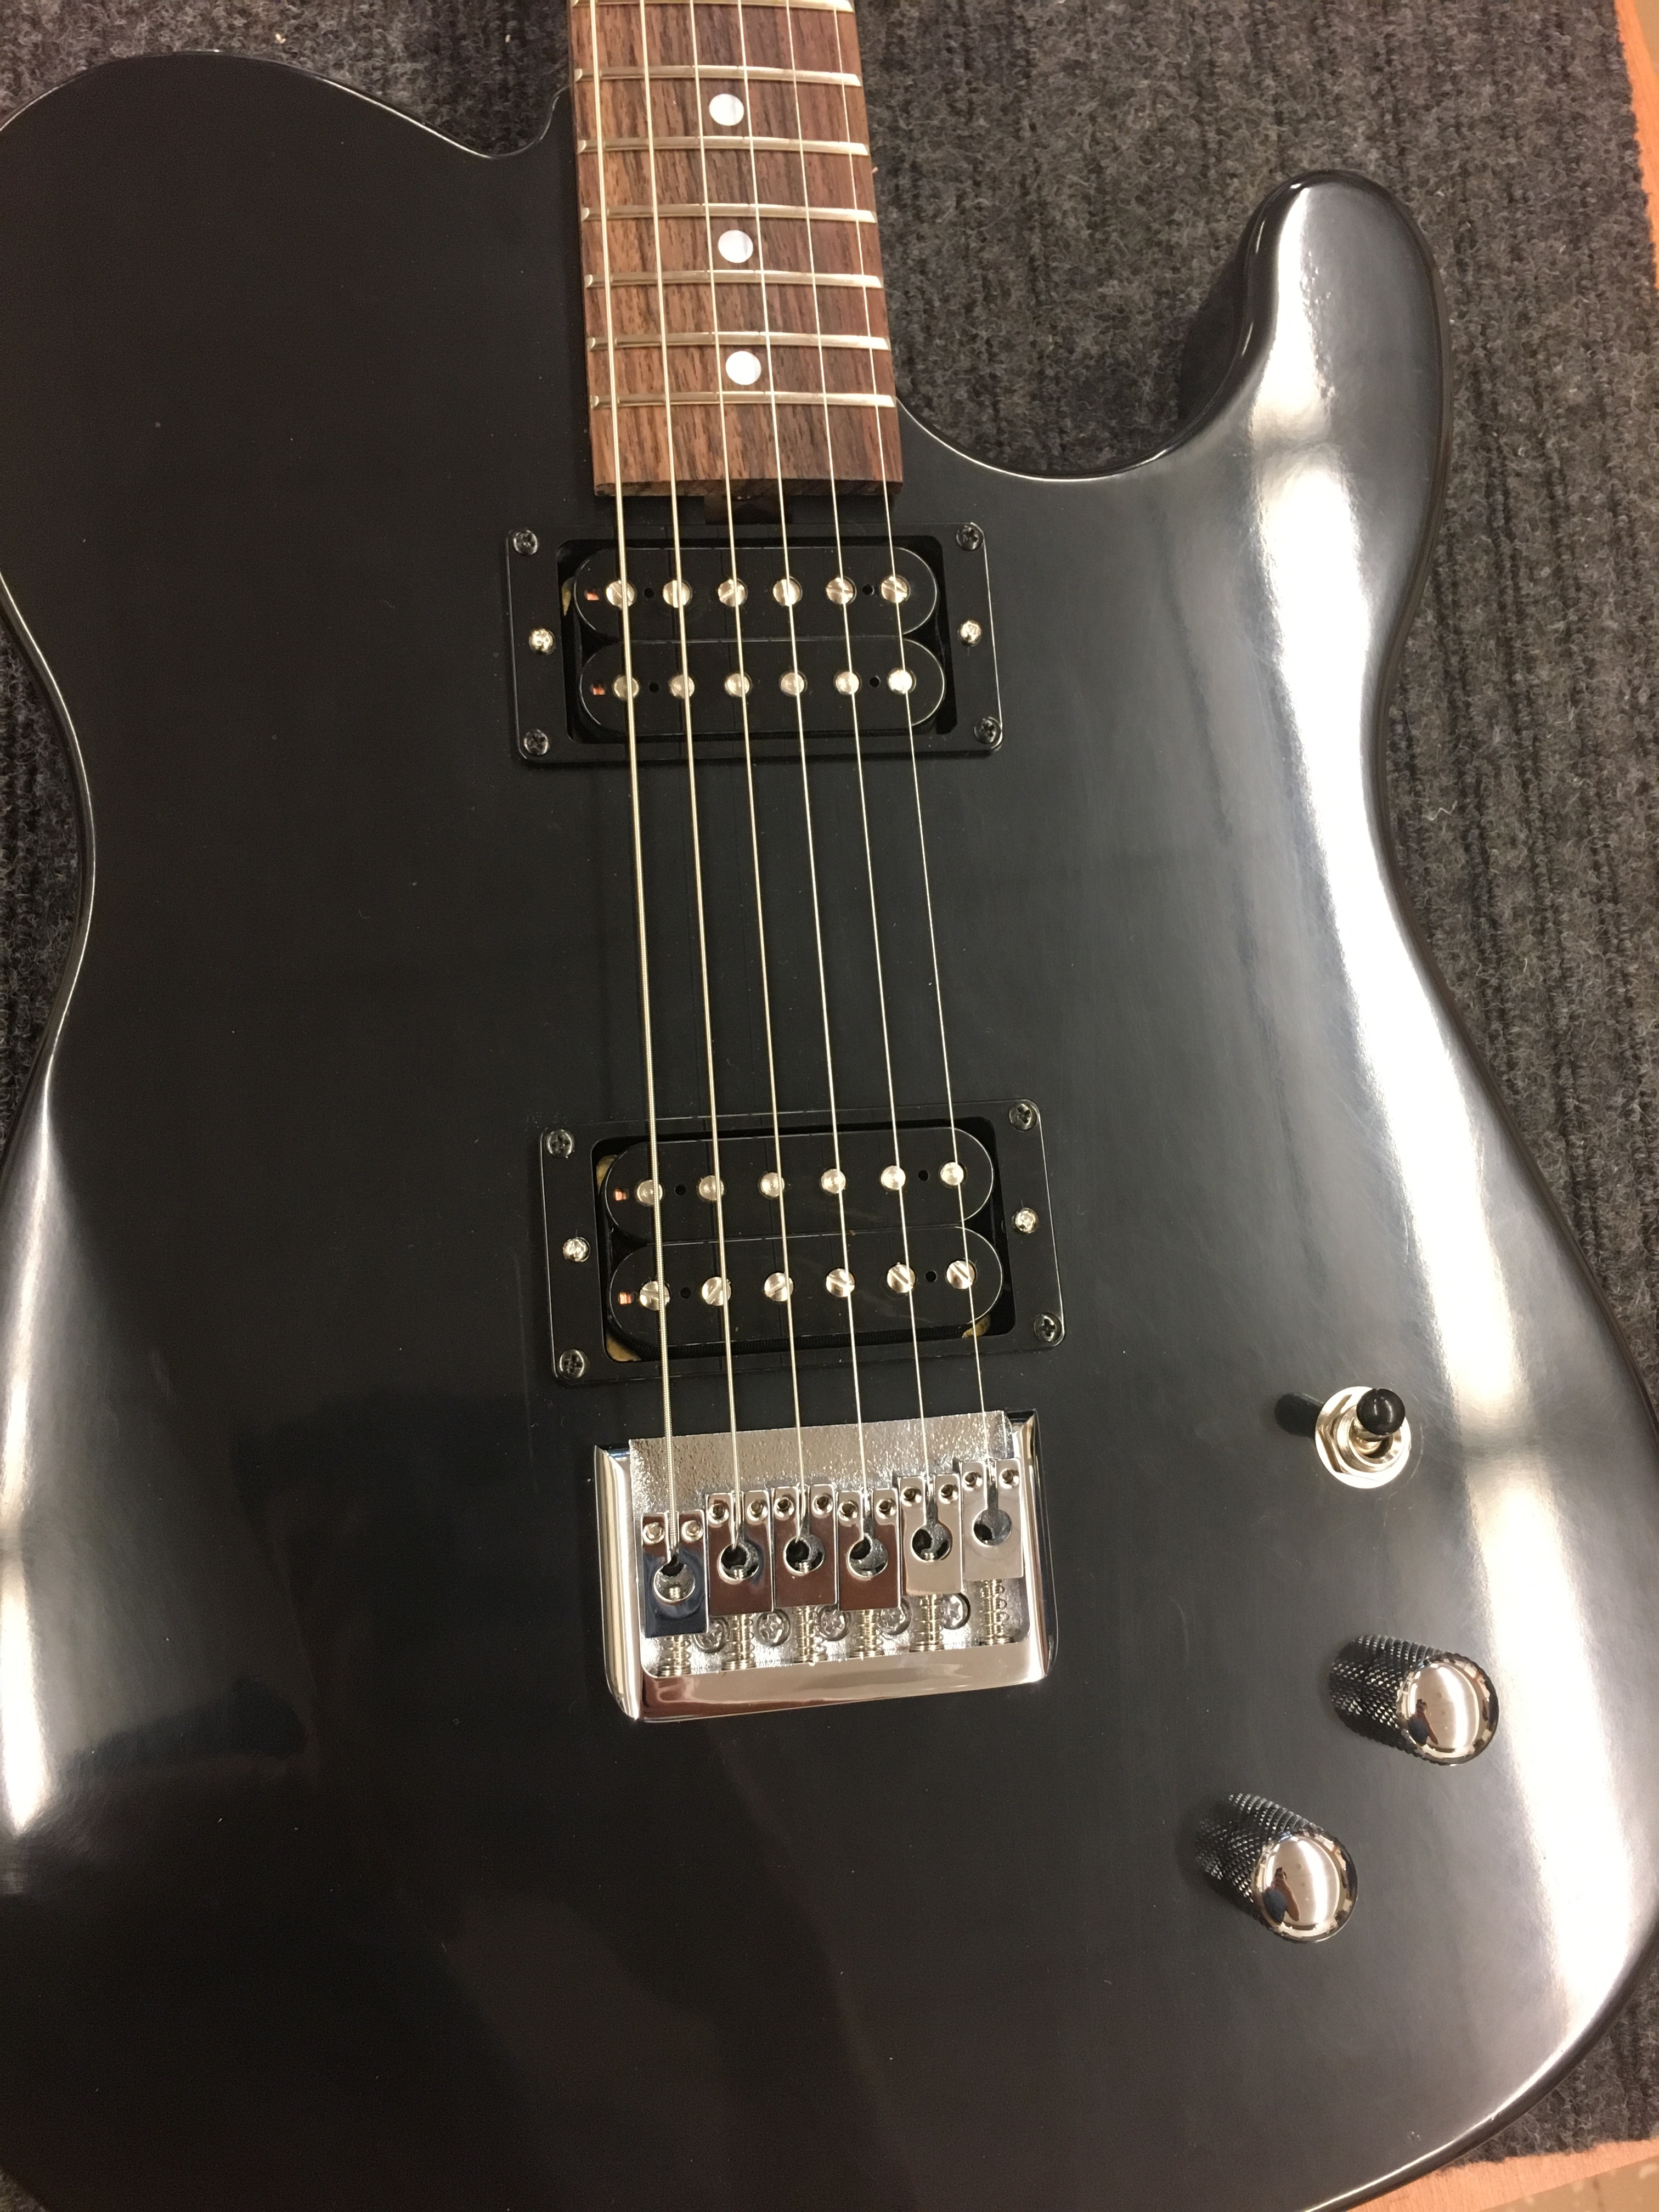
To do the final setup and intonation process on my guitar, we plugged the guitar into a tuner and either tightened or loosened the string to match the right note. Then after each string had the right note, we checked the intonation by playing at the 12th fret and checking if the note was still the same. If the note wasn’t the same we would adjust the bridge by moving the saddles up or down to make it so the notes matched up. The activity that meant the most to me was making the pie plate speakers because it was cool to see how speakers worked and how it was so easy to make them. Overall, this course was a really fun and cool opportunity because it’s not everyday you get to build a guitar and it was awesome to be able to do it as a class.

Week 23

This week I put my strings on the guitar and started to set the level of the strings. To do this I used a tightener for the tuners to get the strings on and then used an allen key to change the height of the bridge. I learned that you want to make the nut go down at an angle so that the string doesn’t go down at a sharp angle.

Week 22

This week I installed the tone, volume, and switch on the guitar. To do this I soldered the tone, volume, and switch knobs and also soldered the pickups to the knobs. I learned that the right size drill bit needs to be used or you will probably strip the screw you are trying to screw in.

Week 21

This week I polished my guitar body. To do this I used a 1000, 2000, and 3000 grit sand paper and pads to smooth out the body. Then I used a polish to buff out the guitar body and make it super shiny. I learned that for the guitar body to get very shiny, you need to buff out the polish hard to get all of the polish off.

Week 20

This week I finished the neck and put guitar honey on the frets and installed the tuners. To do this I used a ruler to line up the tuners and then a drill to drill the holes to screw in the tuners. I learned that after the finish is built up on the neck, the tuners have a much tighter fit than before the finish was sprayed.

Week 19

This week I sprayed more coats of finish on my guitar body and neck. To do this I used the spray gun and made passes over the body and neck to make it wet but not runny. I learned that when spraying you want the wind to go the other way from you and not into your face.

Week 18

This week I finished taping the neck and put sanding sealer on the neck to get the finish to stick. To do this I used blue painters tape to tape the fretboard to make sure the finish doesn’t go on it and I used sanding sealer for the neck to make the finish stick. I learned that when spraying, the spray should be about 8 inches away from whatever is being sprayed.

Week 17

This week I worked more on the auction guitar and fixed one of the frets and started to sand the frets down. I used the diamond sander to shape the frets back to a rounded top and used the 150 and 300 grit sides to get it smoother. I learned that when frets won’t stay down on the ends of the fretboard, they can be superglued into place by letting the glue seep in and holding it down.

Week 15

This week I worked on the auction guitar and put in side dot inlays and started laying in the frets. I did this by using pearloid dots and drilling the holes and gluing them in, and for the frets we bent the wire and clipped them to size and pressed them in. I learned that if the frets aren’t bent enough they will be harder to place in the fret slots.

Week 14

This week I worked on the auction guitar and glued the fretboard on the neck and sanded the fretboard down. I did this by using the sanding beam to smooth the fret board down, and a block sander after the fretboard was glued to the neck, and wood glue to glue the fretboard to the neck. I learned that while glueing the fretboard to the neck, only one of the nails is needed to hold it in place.